Pathologic 2
Blender Model Tutorial
Update
You can now download the models through this Google Drive folder. Thank you to RoarkAnimations (Youtube, Twitter) for archiving these and allowing me to share them with everyone.
I've also added the Bachelor's retail model (different from the alpha model that rotten-eye had ripped), the Webley revolver, General Block, and the Polyhedron to that folder.
Summary
These pages contain information on how to download, unpack, set up, pose, and render rotten-eye's Pathologic 2 models in Blender.
If you'd like, you can also view the Pathologic 2 Character Turntables I've made using these models.
You can also view this tutorial as one page.
Table of Contents
- Software needed
- Downloading and Unpacking Models
- Setting Up Models in Blender
- Posing
- Rendering
- Output Settings
- Setting up Cameras
- Lighting with HDRIs / World Shader Nodes
- Animating a Turntable
- Rendering the Turntable
- Looping Turntables in Davinci Resolve
Posing a Single Model
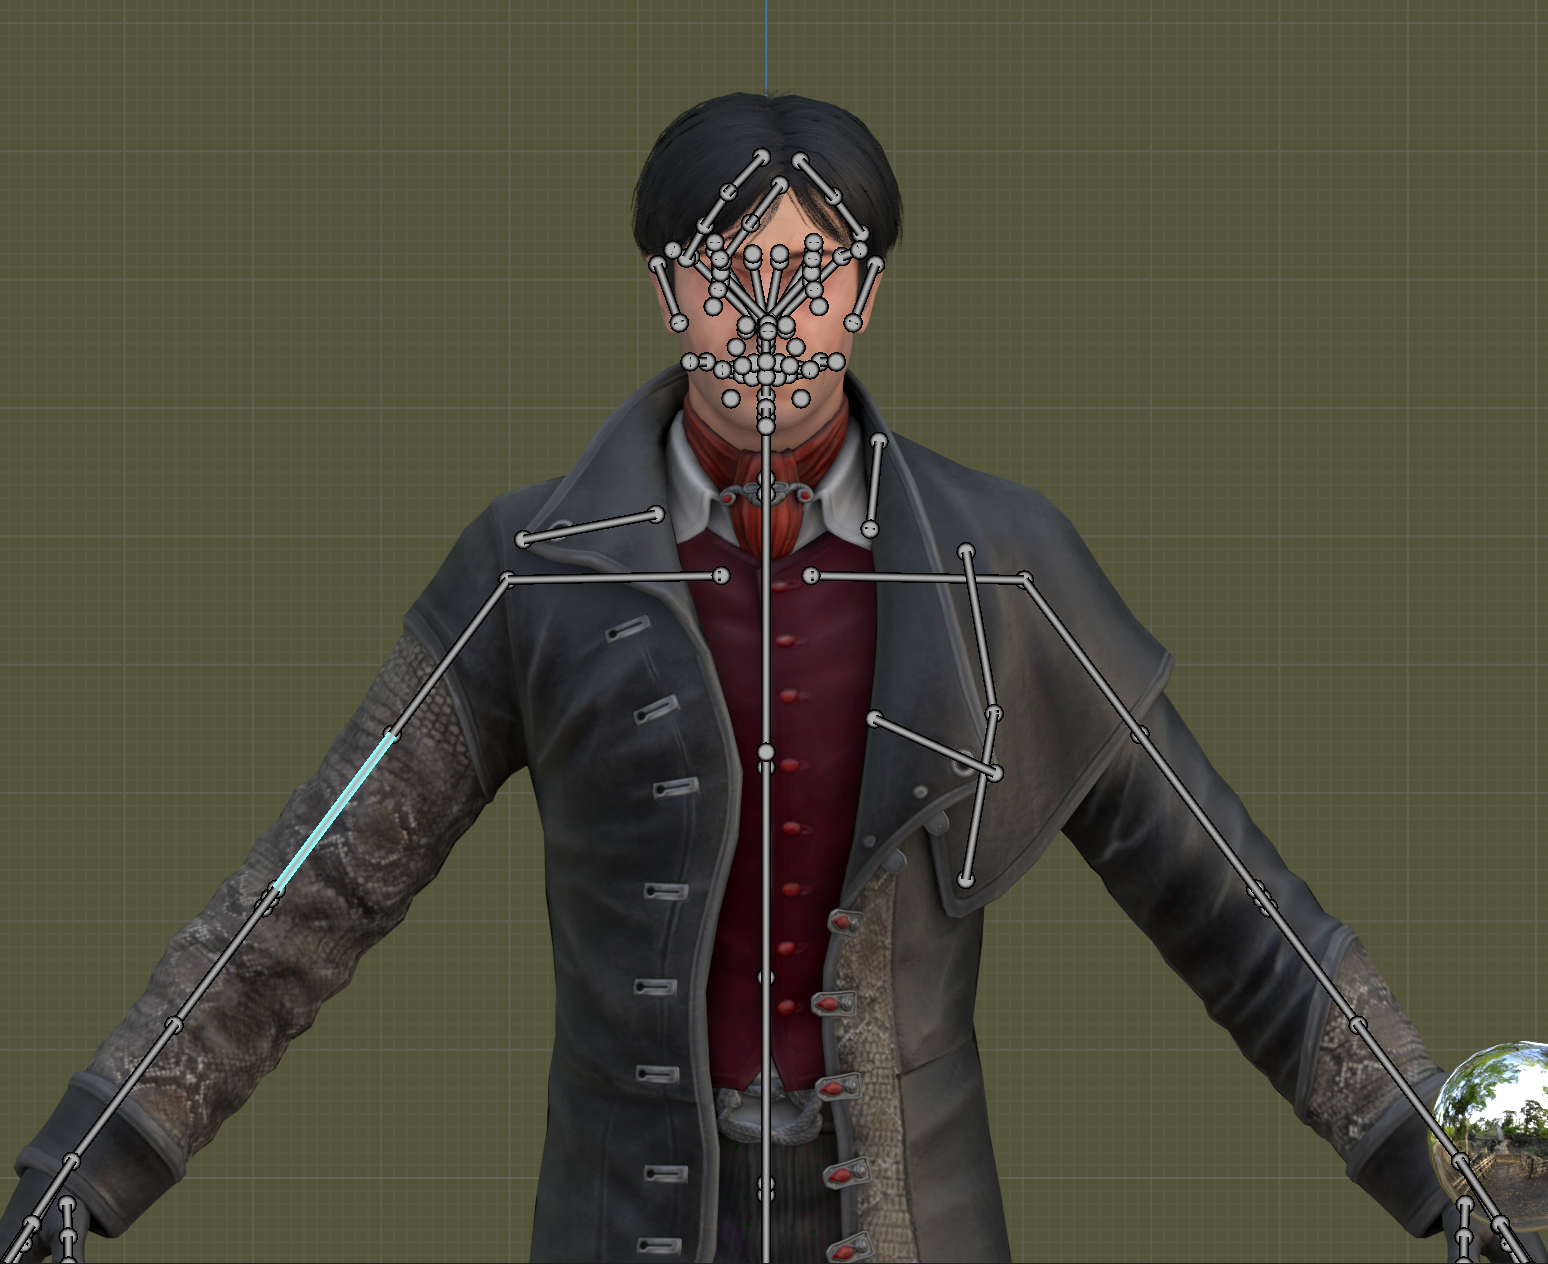
I've gone ahead and set up the rest of the textures for the Bachelor. Now, we can use the armature to pose the model. You can pose a model right in the Shading workspace. To give yourself more space in the 3D Viewport, you can drag down the divider between the viewport and the material nodes, making the viewport bigger.
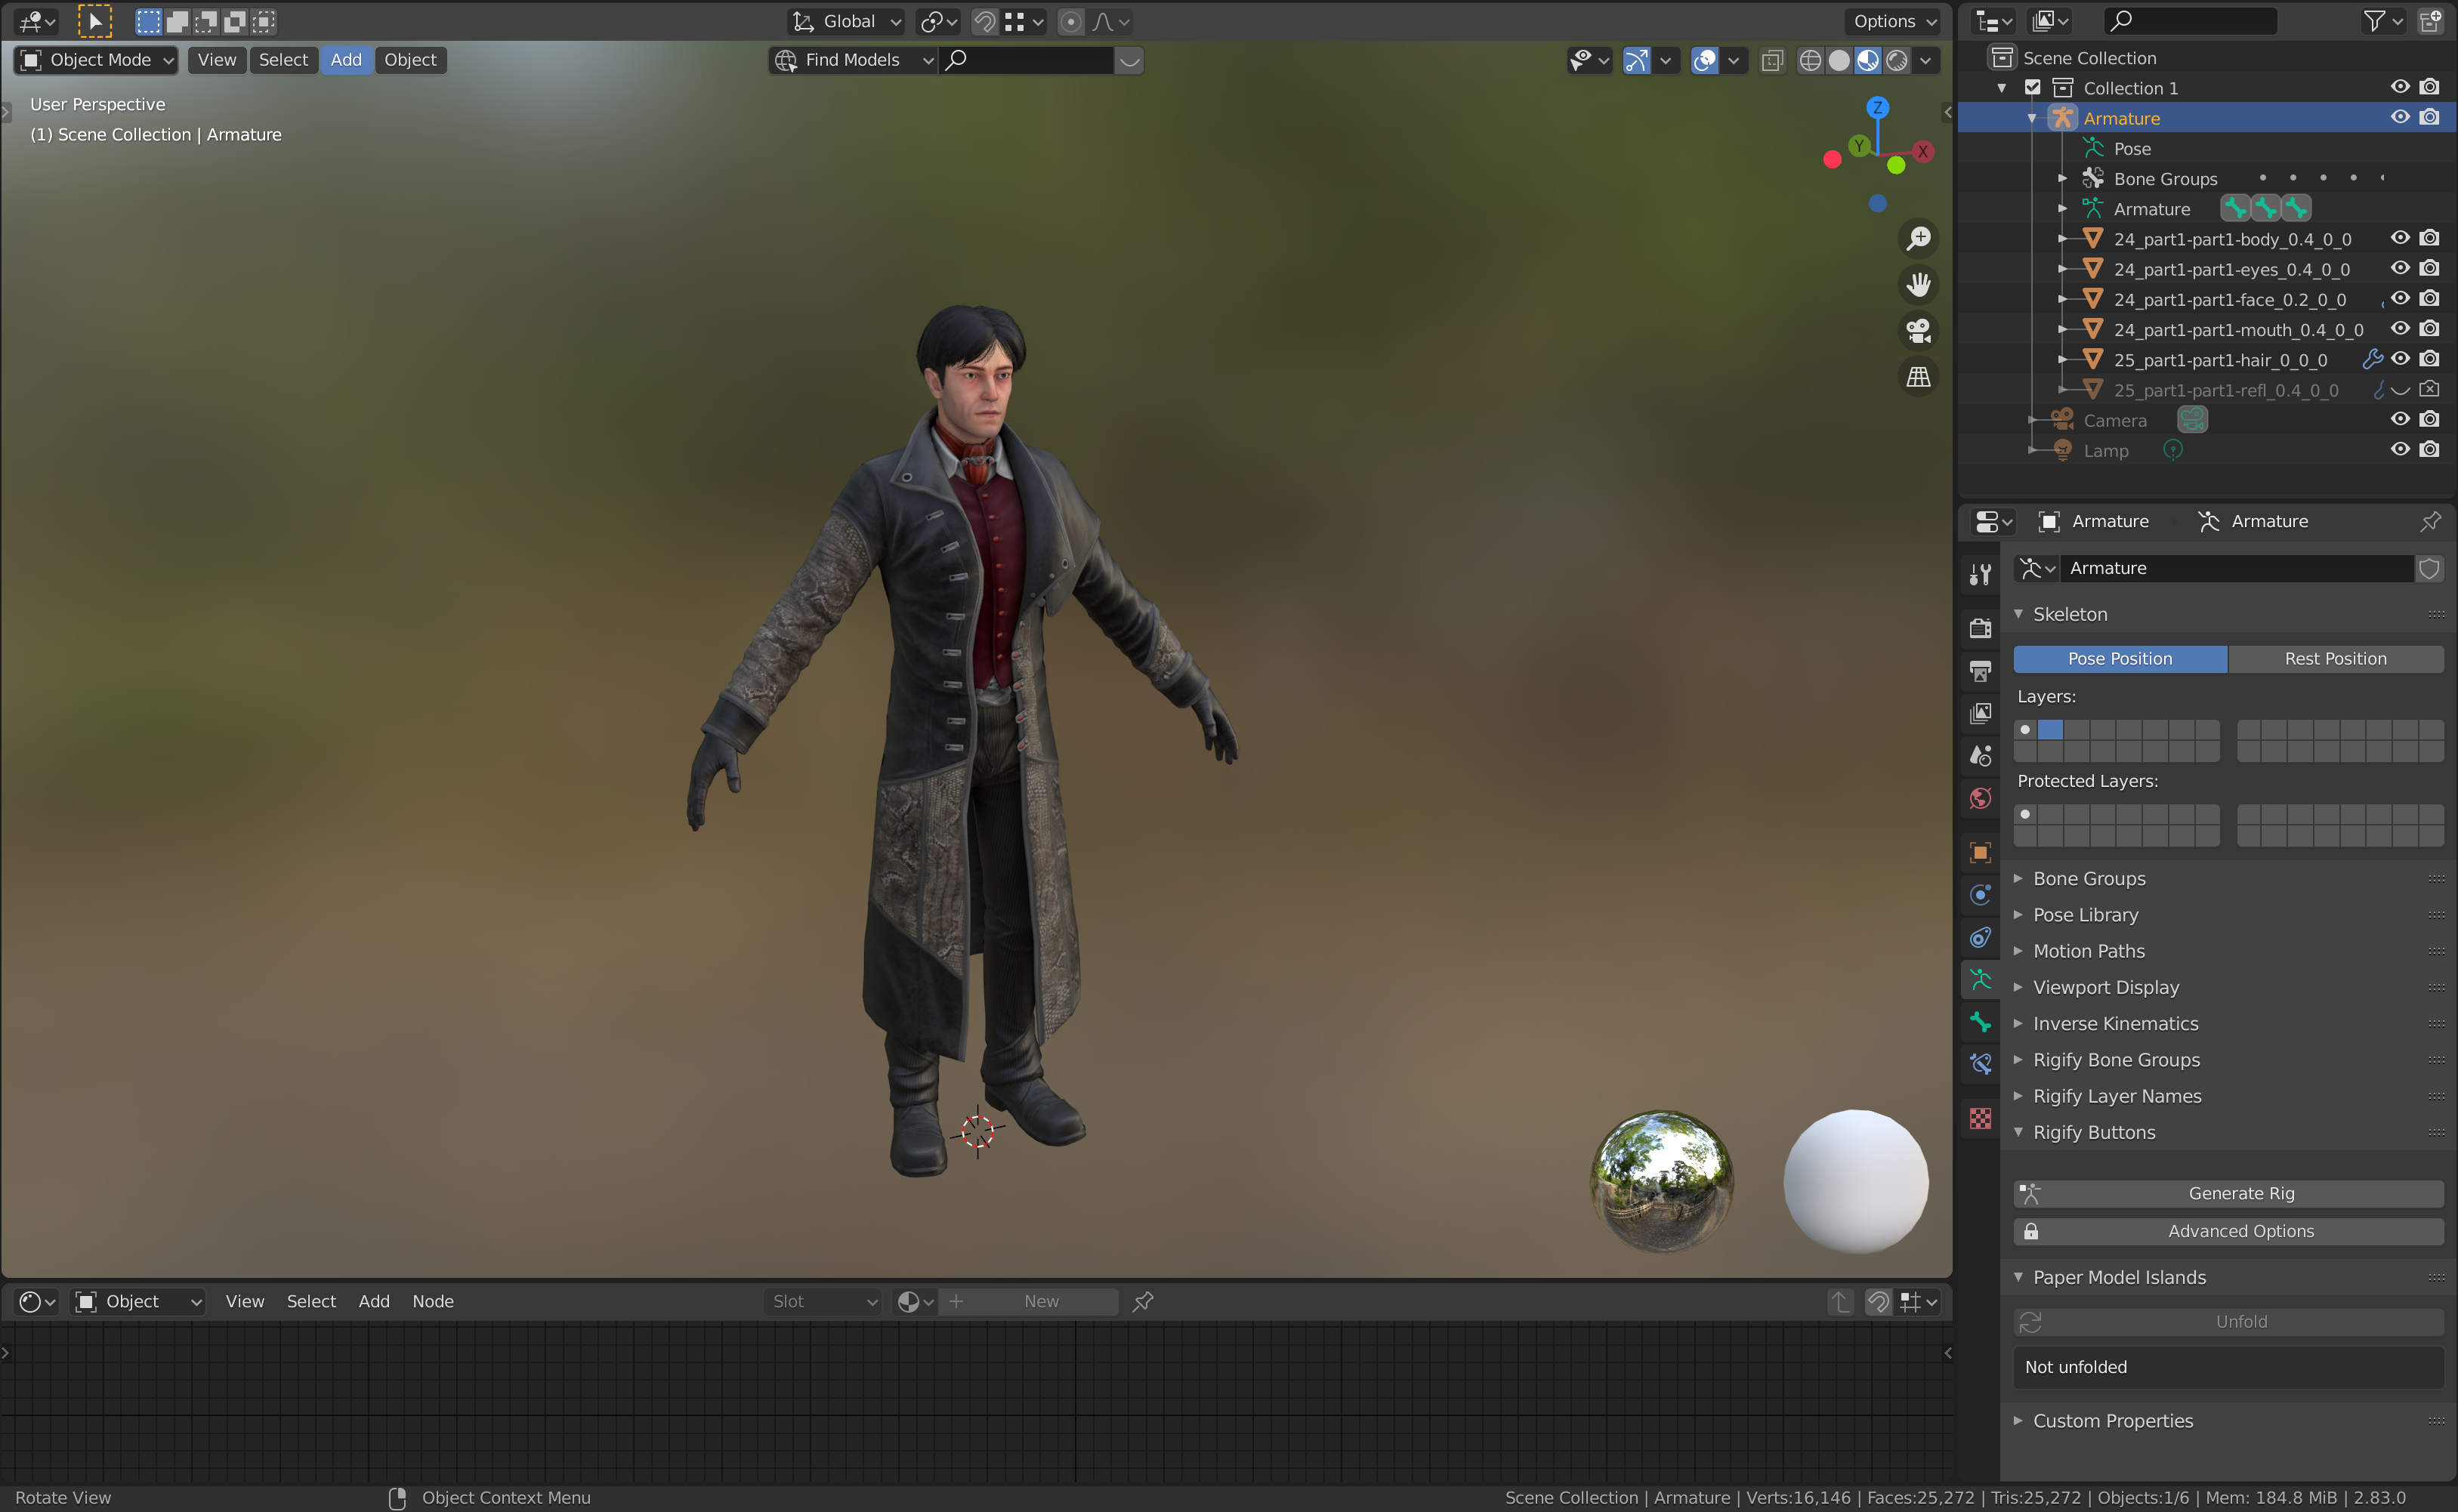
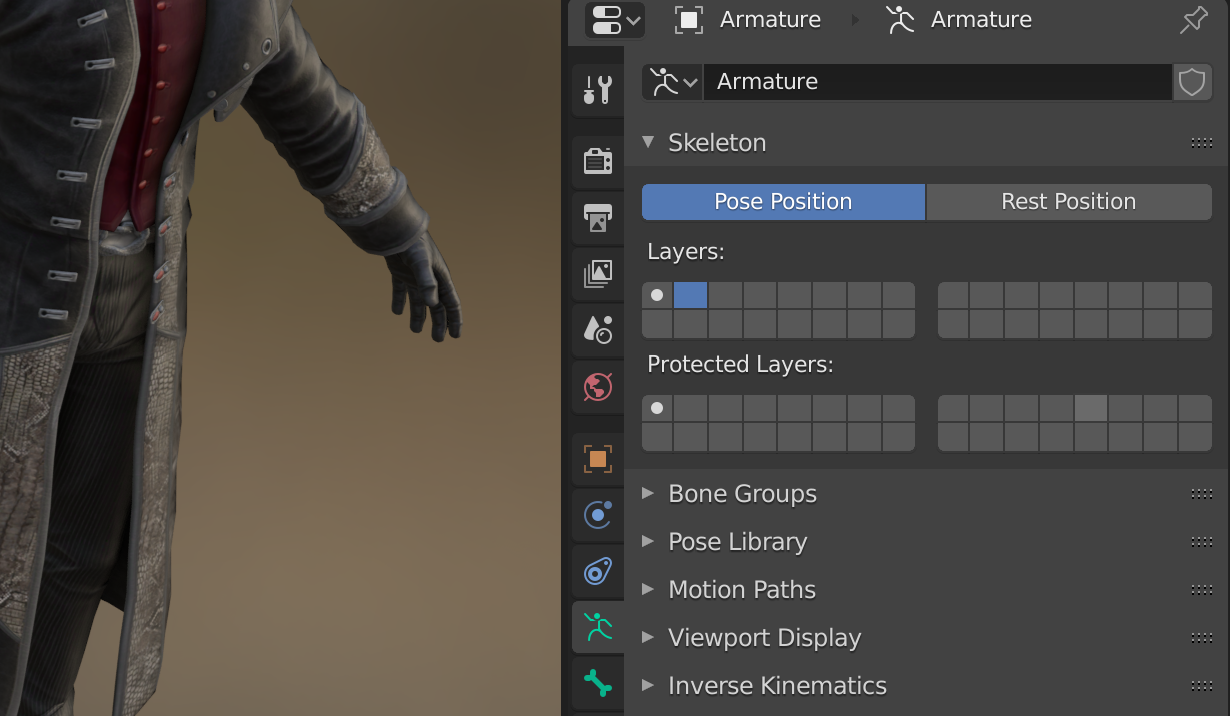
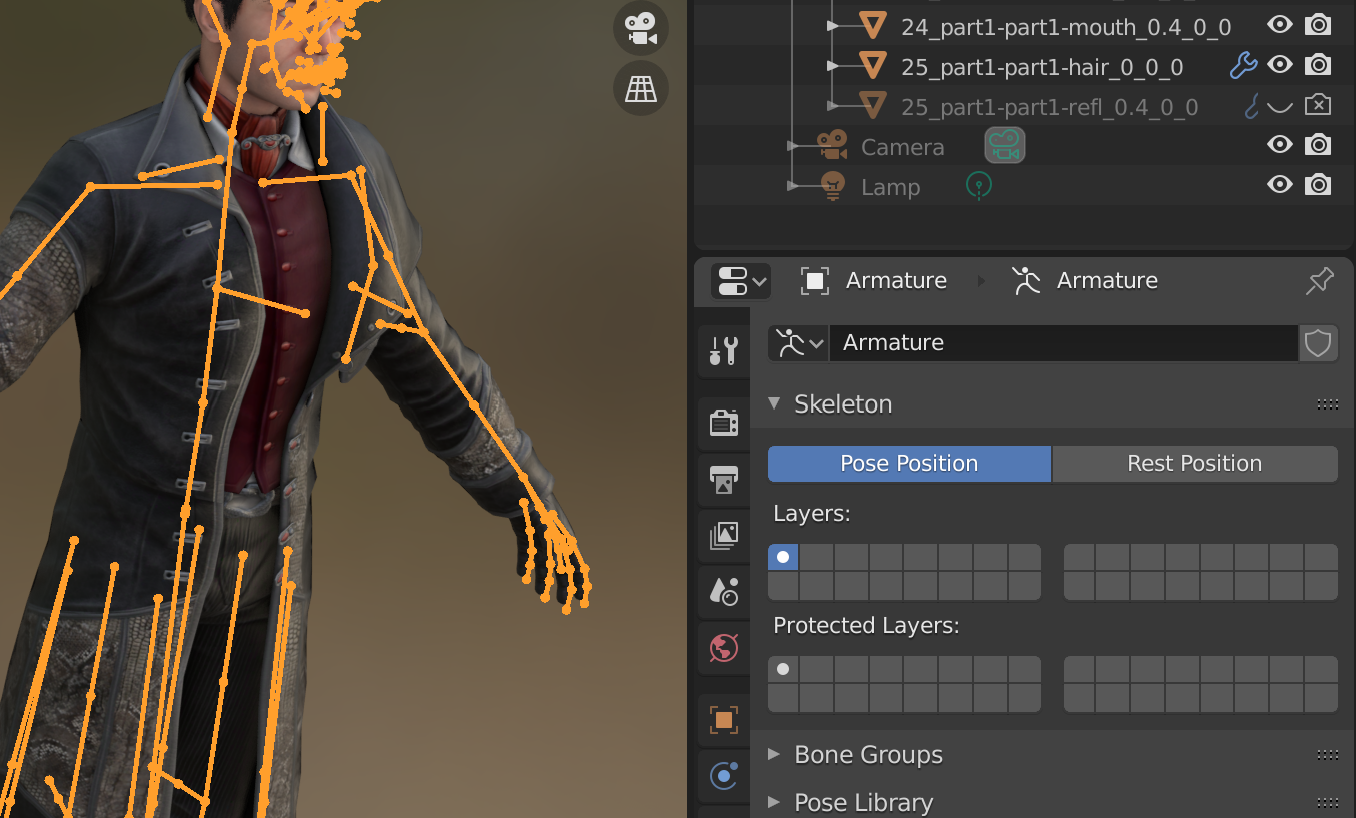
Usually, the Pathologic 2 models will have their armature visible when you first open them. If they're ever hidden, as in the case of the Bachelor, it's usually because a different Armature layer is selected. You can select the right one by first selecting the Armature in the Scene Collection, then navigating to the tab with the green stick figure icon. Under Skeleton / Layers, you can see which layer you're on. Select the first one with the dot in the cell. The highlighted armature should show up now.
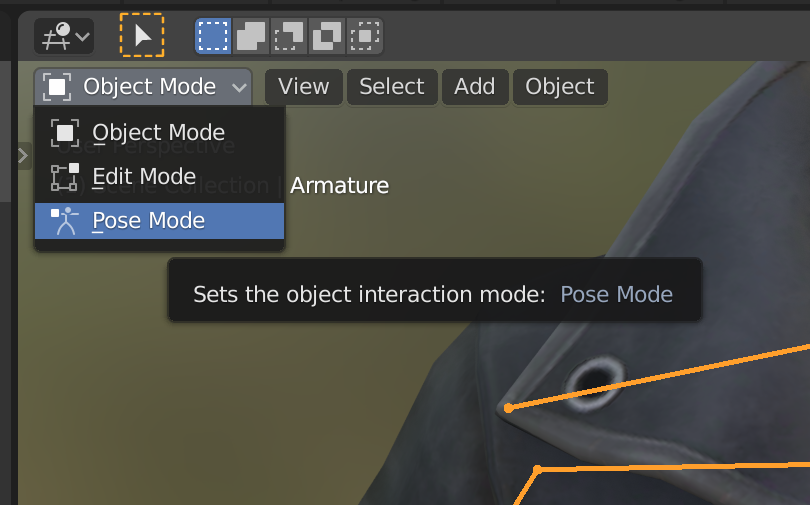
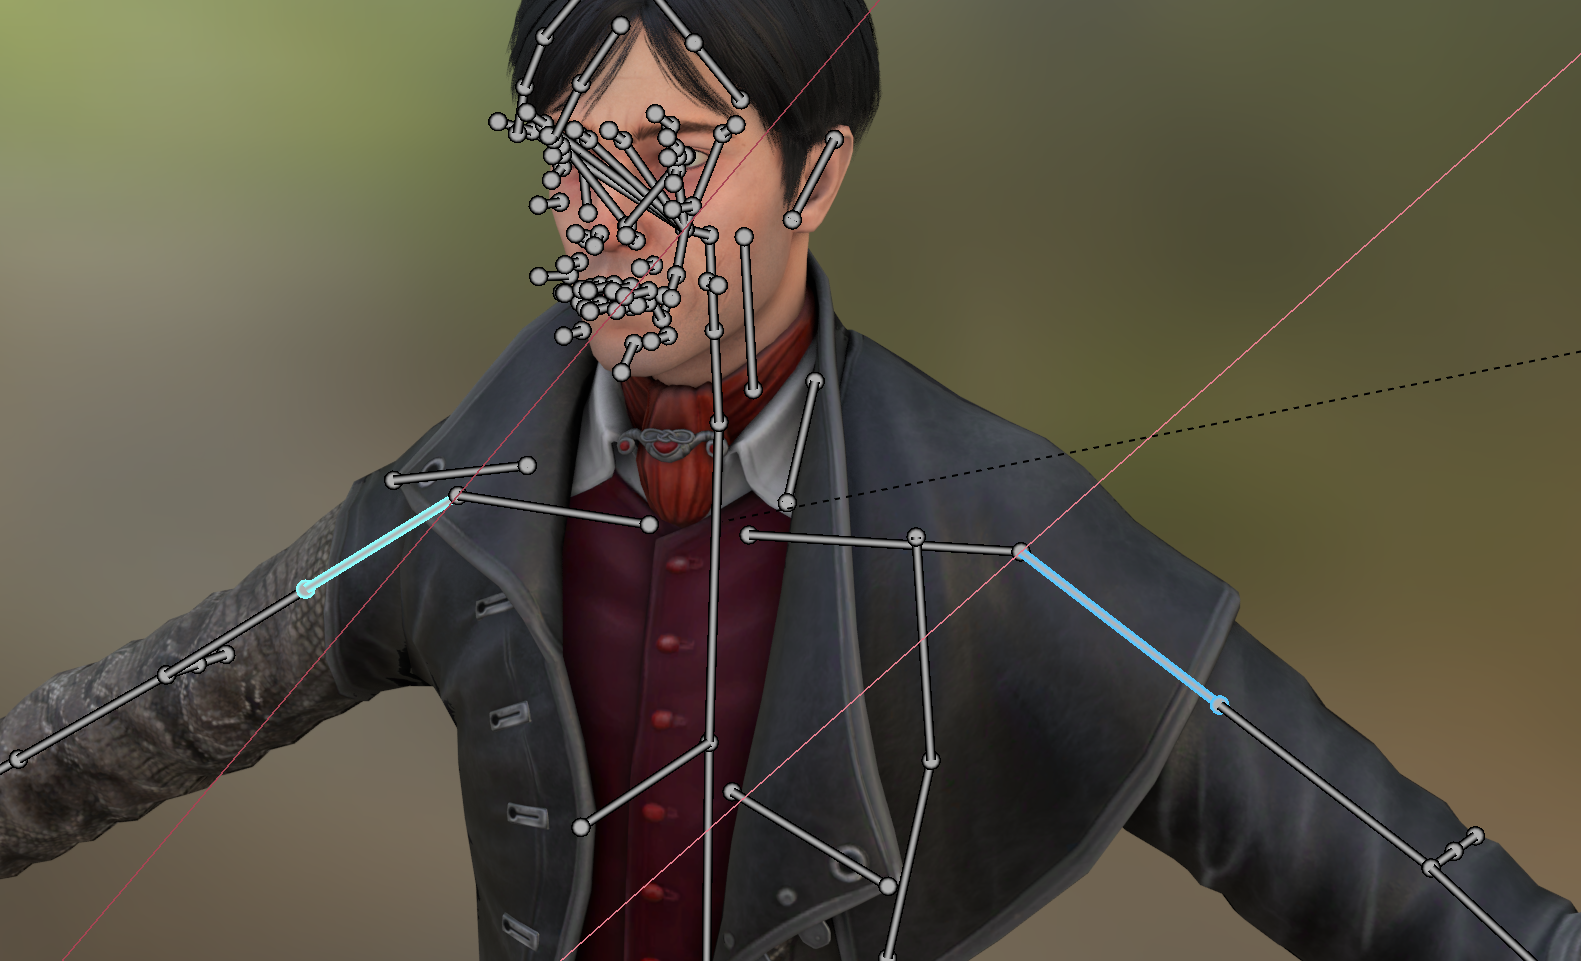
To enter Pose mode, go to the top left of the 3D Viewport. Click on the dropdown menu that is currently on Object Mode, and go into Pose Mode. The armature should turn gray, and you can select individual or multiple bones. To select multiple bones, press one, then press the others while holding shift.
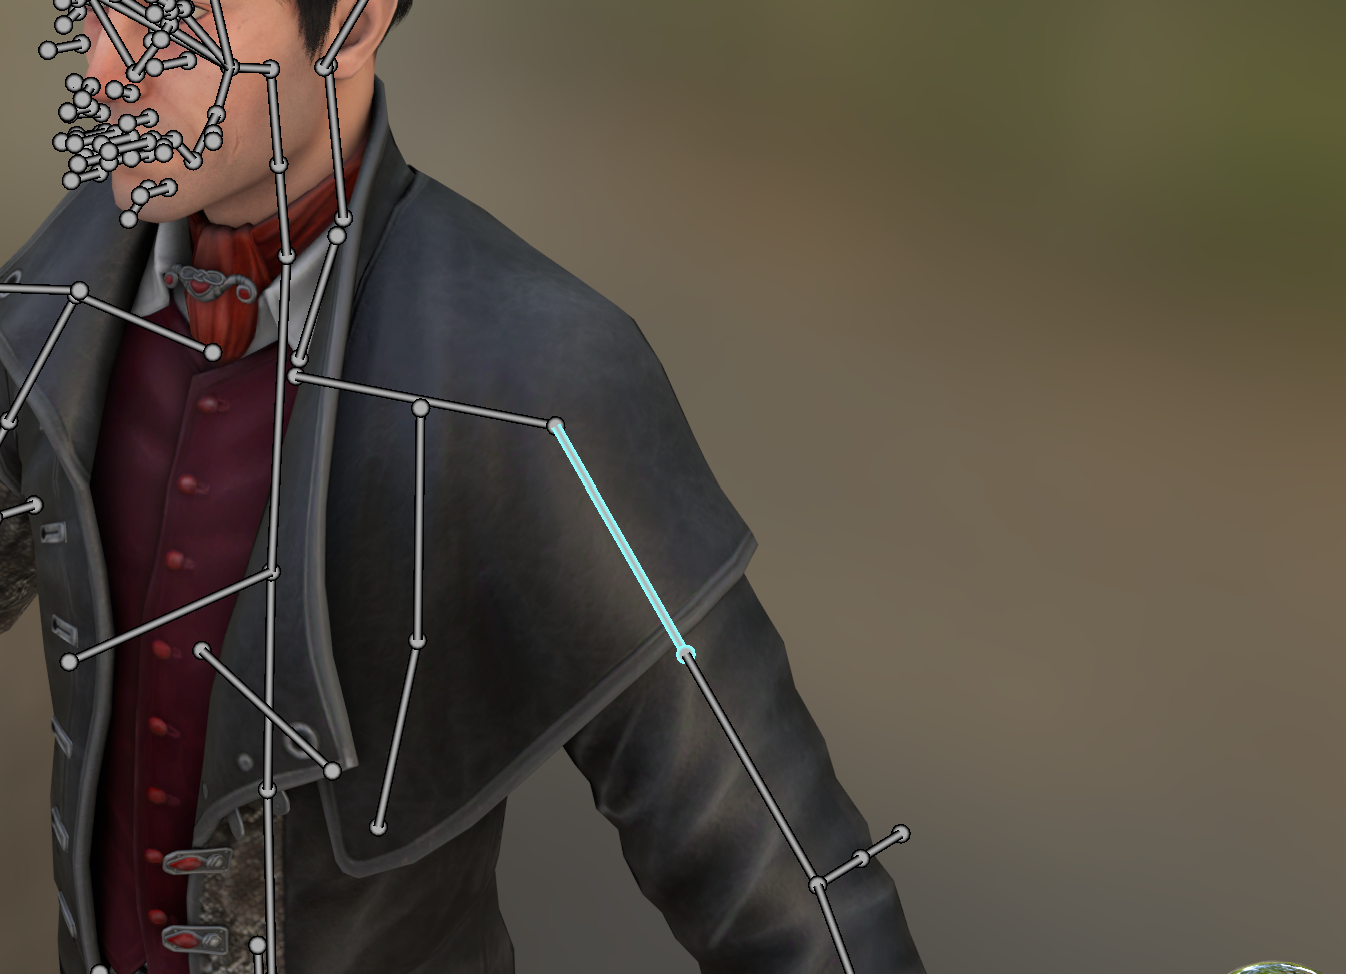

You have to be a little careful with these particular armatures, as you can accidentally rotate or drag limbs in an unnatural way. I've found that the best approach is to rotate individual bones around an axis.
To do this, you can hit R on your keyboard to rotate the bones you have selected. Then, to pick an axis, hit X, Y, or Z.
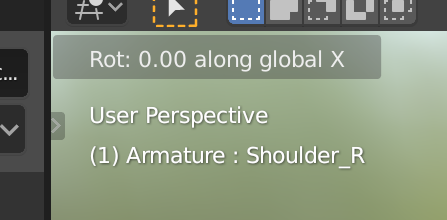
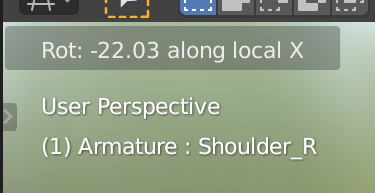
The first time you hit these keys, it will be rotating along a global axis, which is oriented in the way the axes in the top-right rotational gizmo are oriented. This might be what you want, but usually, rotating around a local axis (defined by the individual bones you have selected) produces more natural results.
To enter local rotation, hit X, Y, or Z again. At the top-left of the 3D Viewport, you should see a message that says it's switched over from global to local rotation.
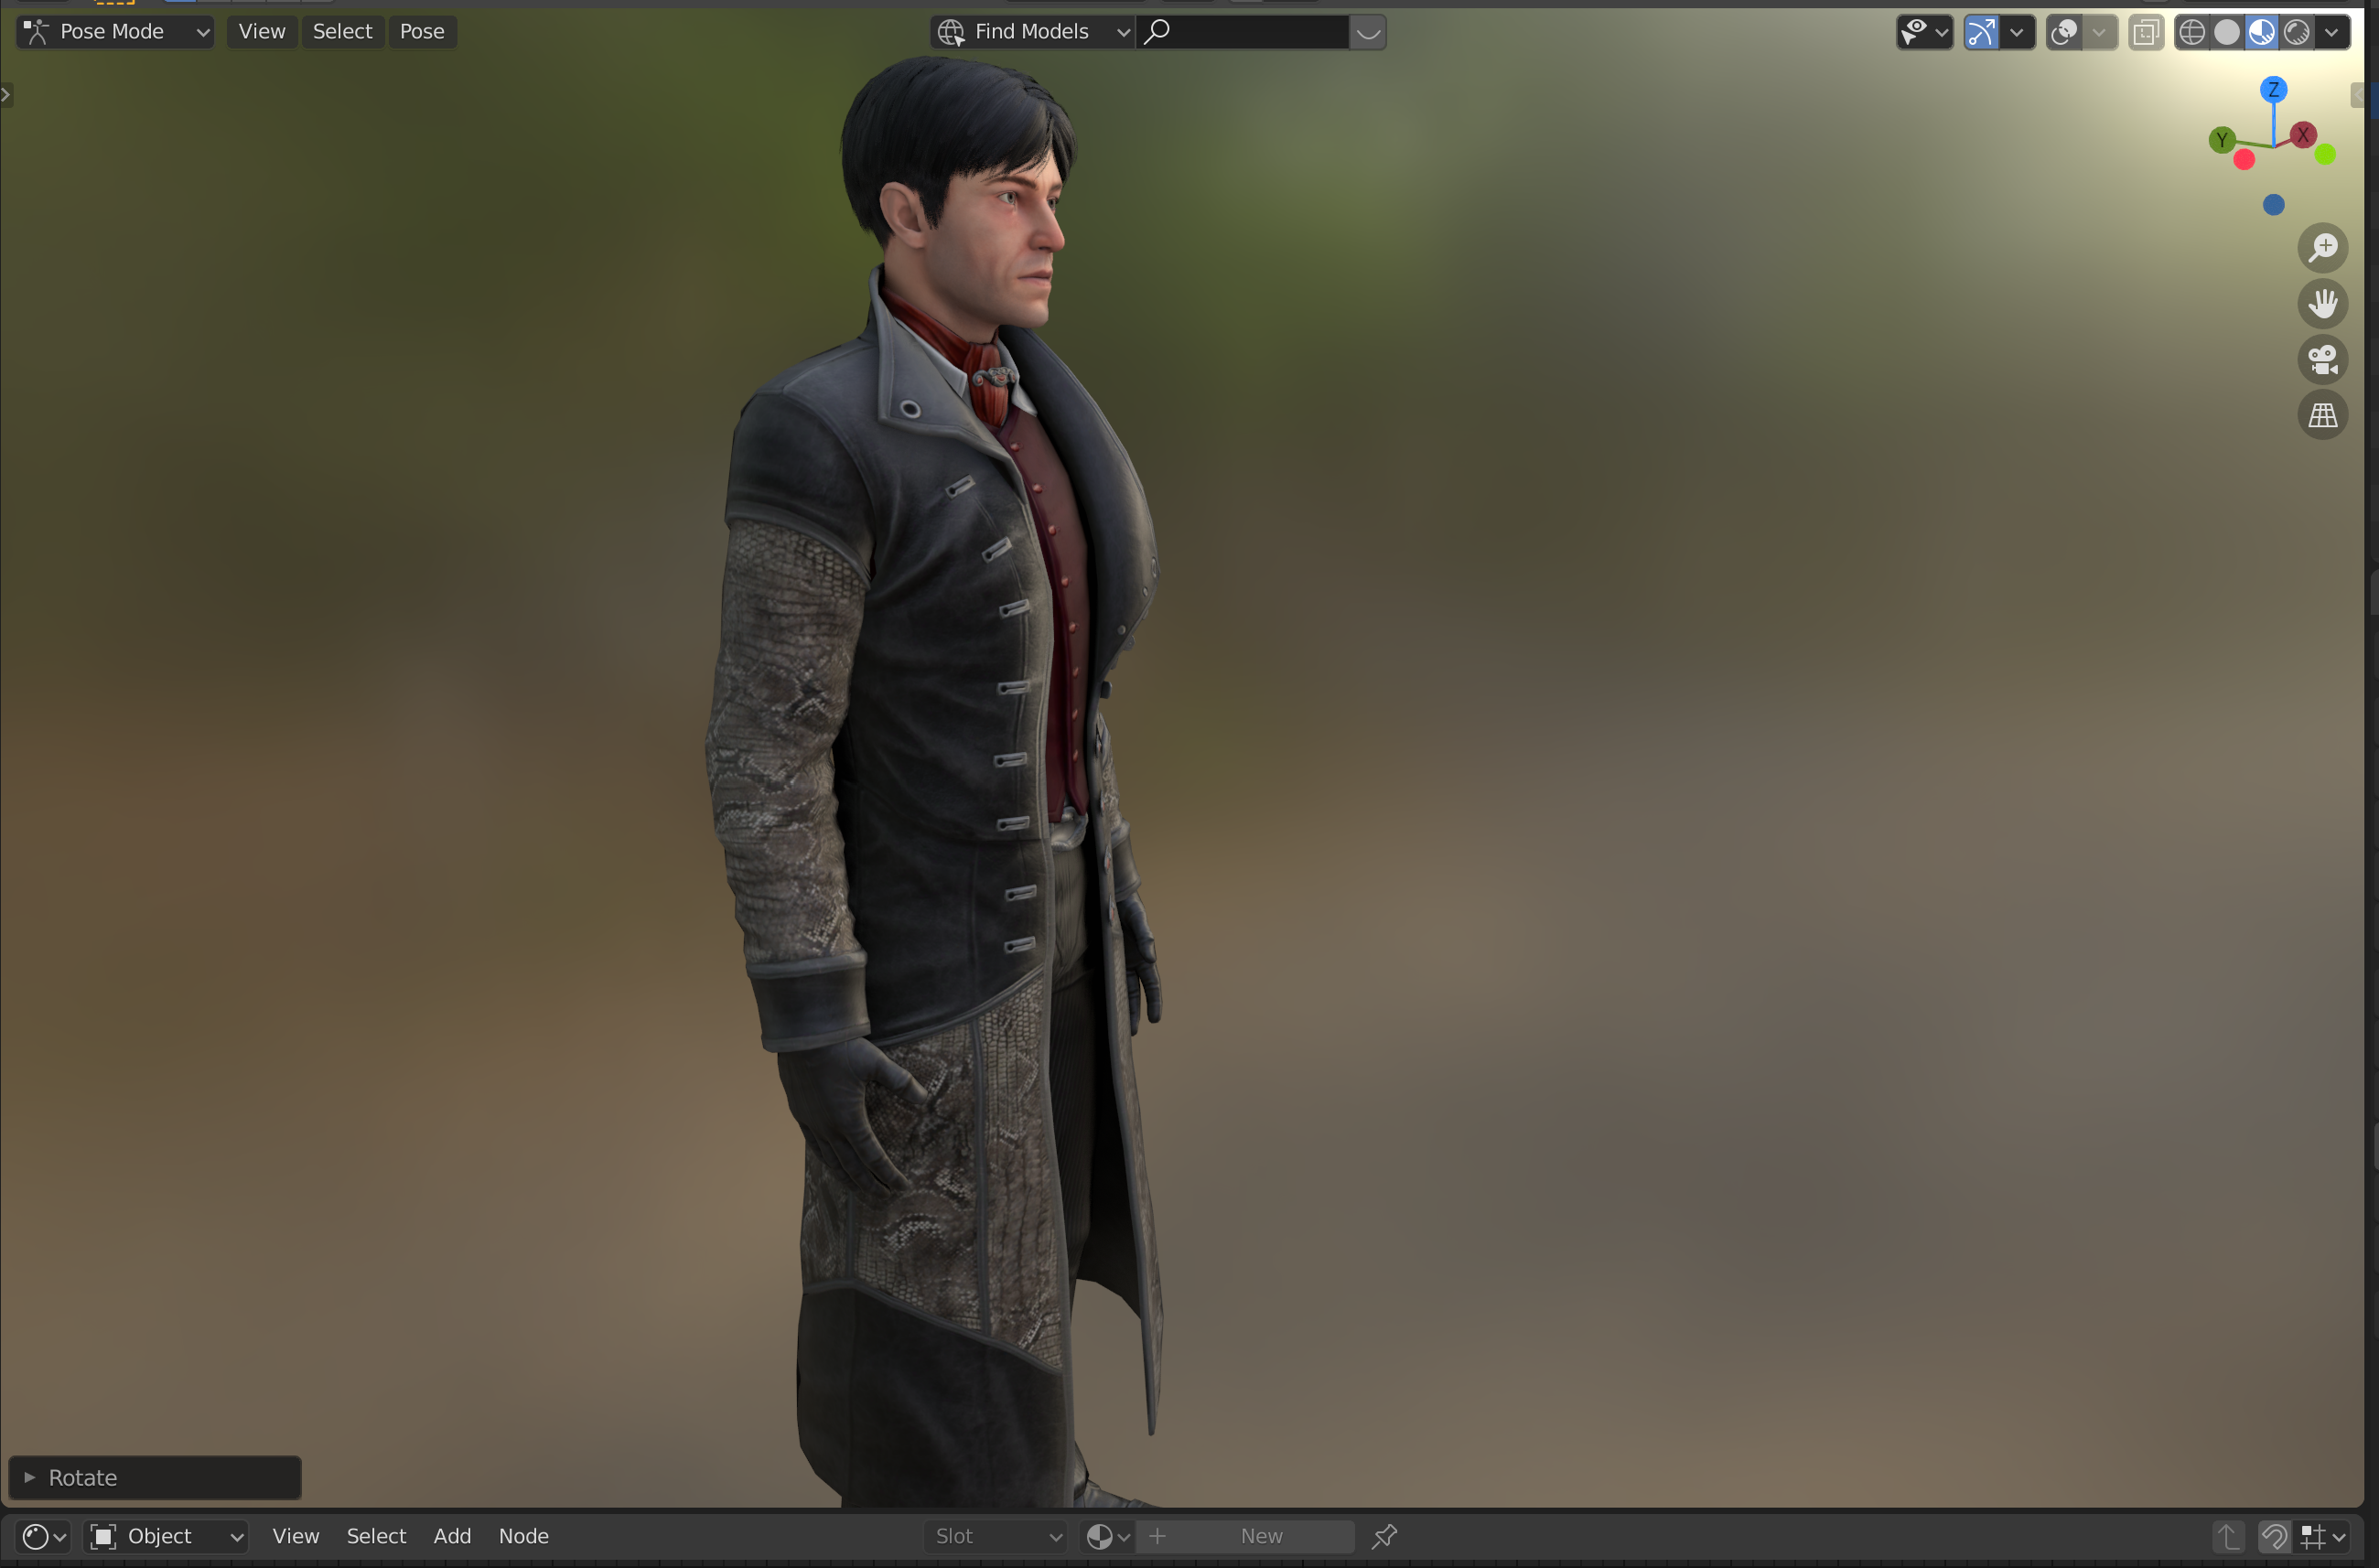
If you'd like to hide the Armature and other overlays, you can press the button with the two circles on the top-right bar in the 3D Viewport. Now, despite still being in Pose Mode, we can't see the armature.

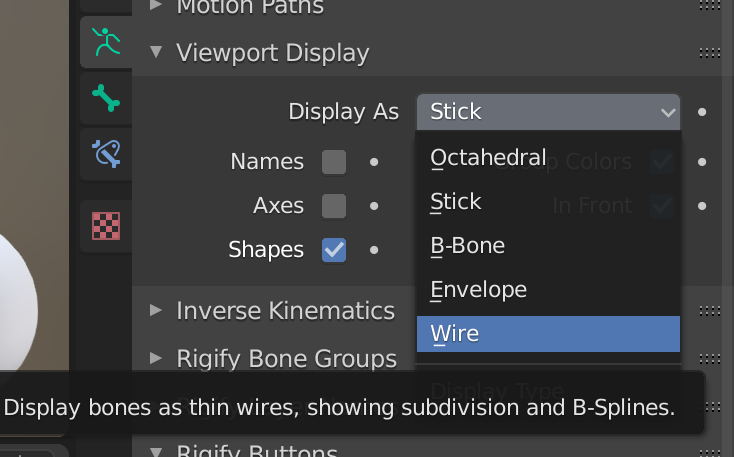
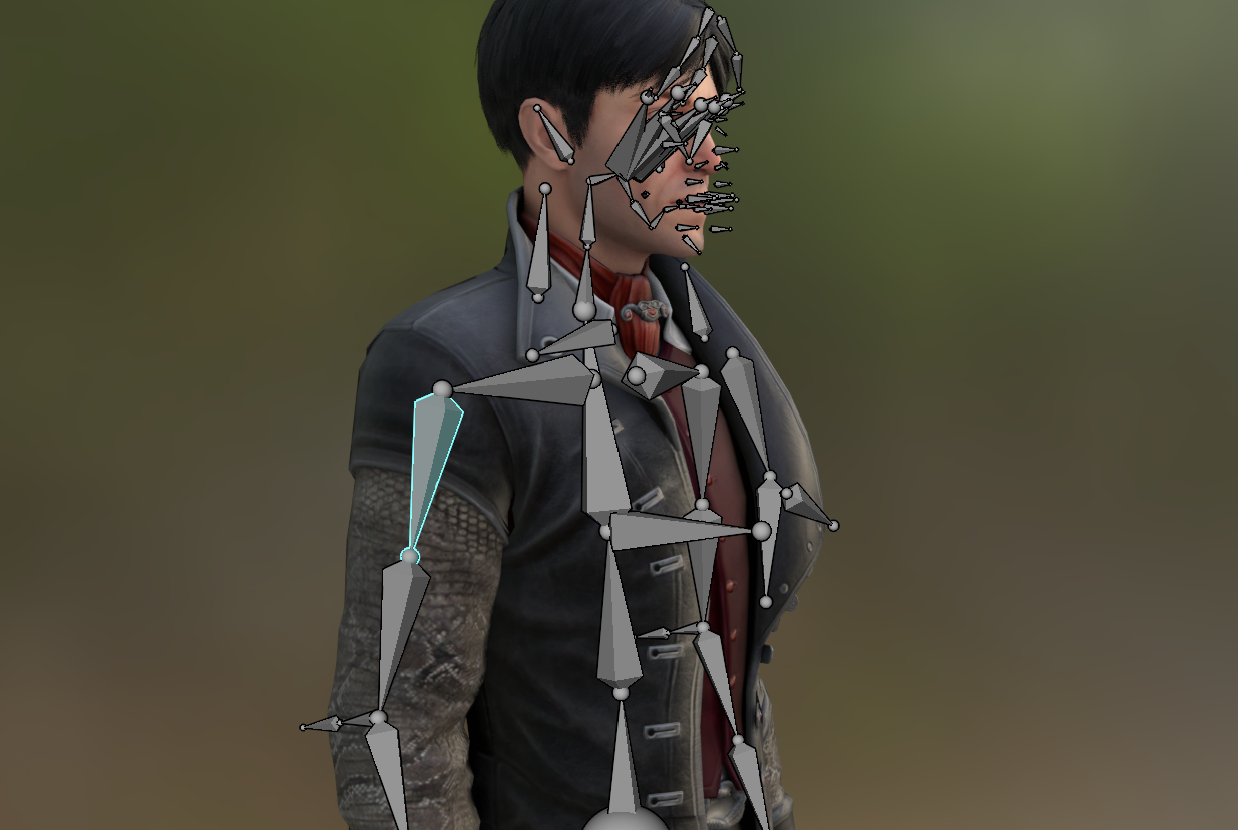
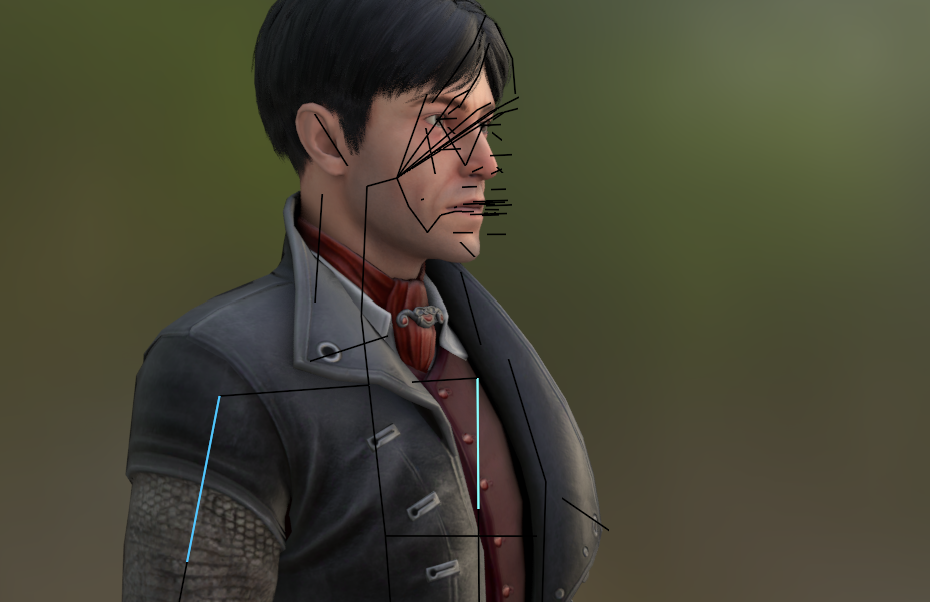
If you'd like to enlargen or shrink the bones, you can select different bone display types. Under the green stickfigure Armature tab, you can navigate to the Viewport display section, and switch between Octahedral, Stick, and Wire.
If you want to reset a bone or the whole armature back to the resting position, there are two things you can do.
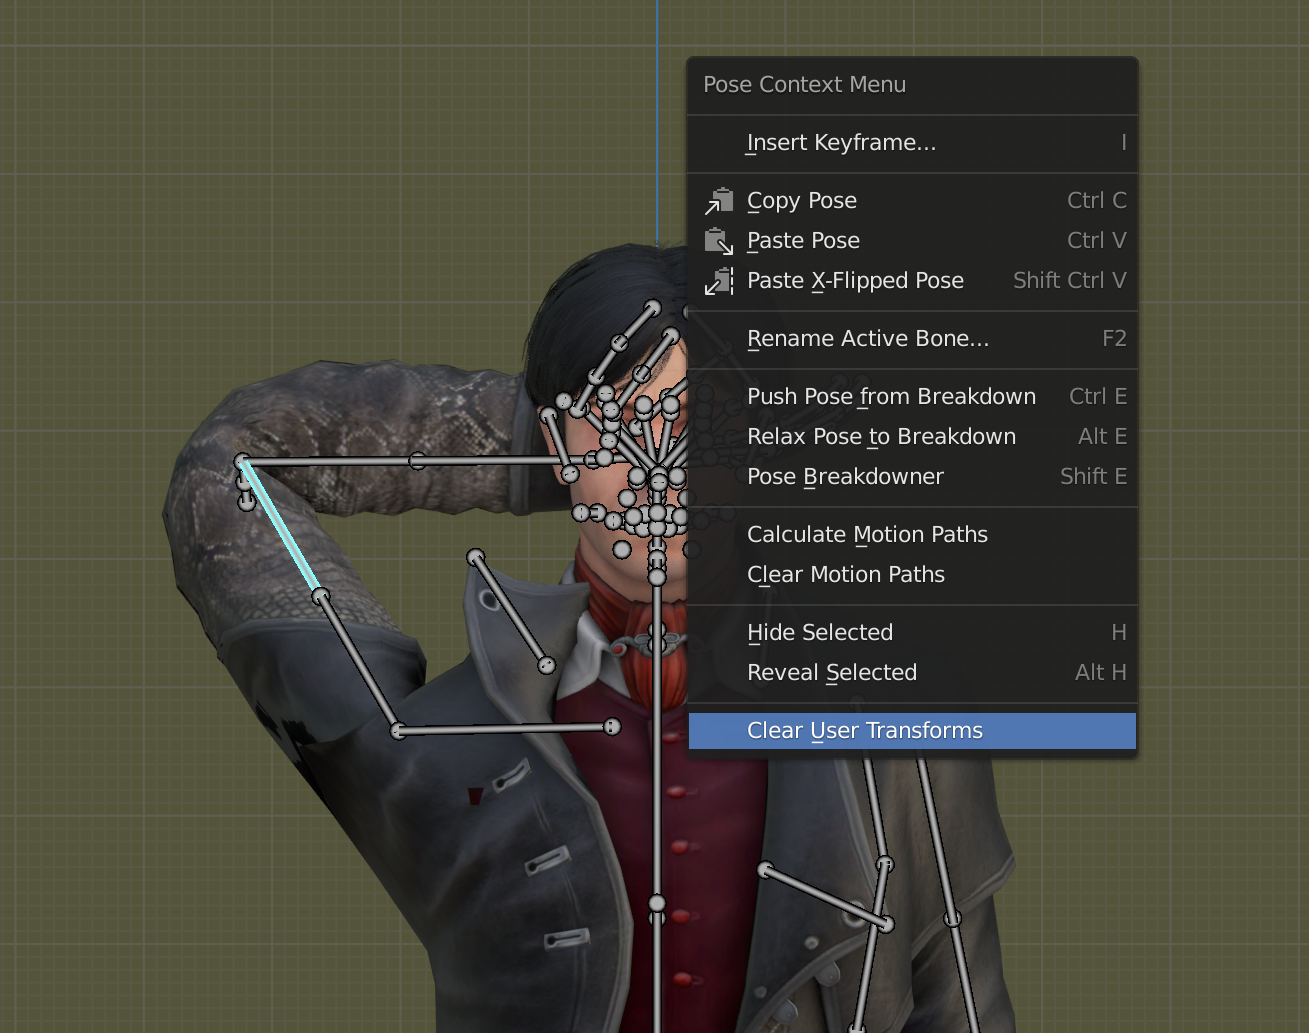
For the whole armature, you can right click on a bone in Pose mode, and click "Clear User Transformation" at the bottom of the list. This resets every bone in the armature regardless of which bones you do or do not have selected.
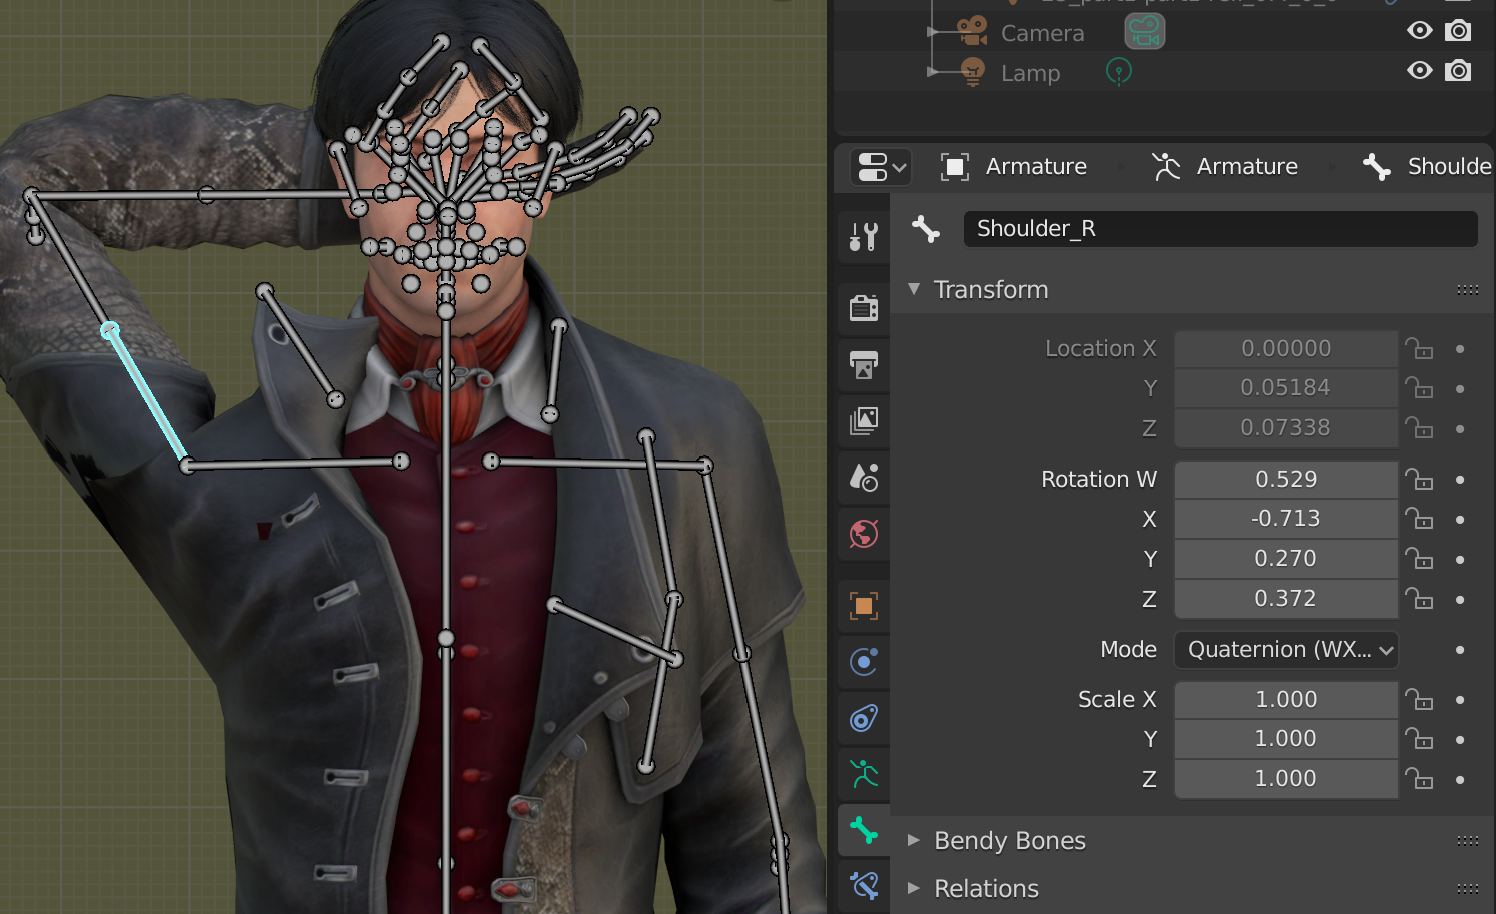
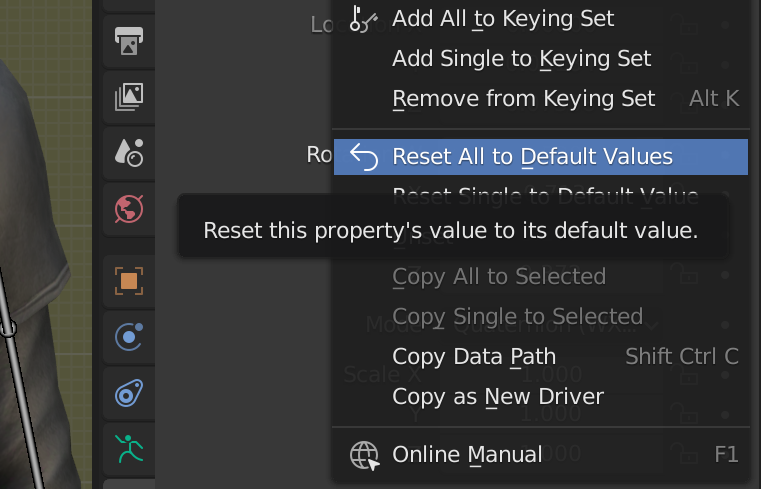
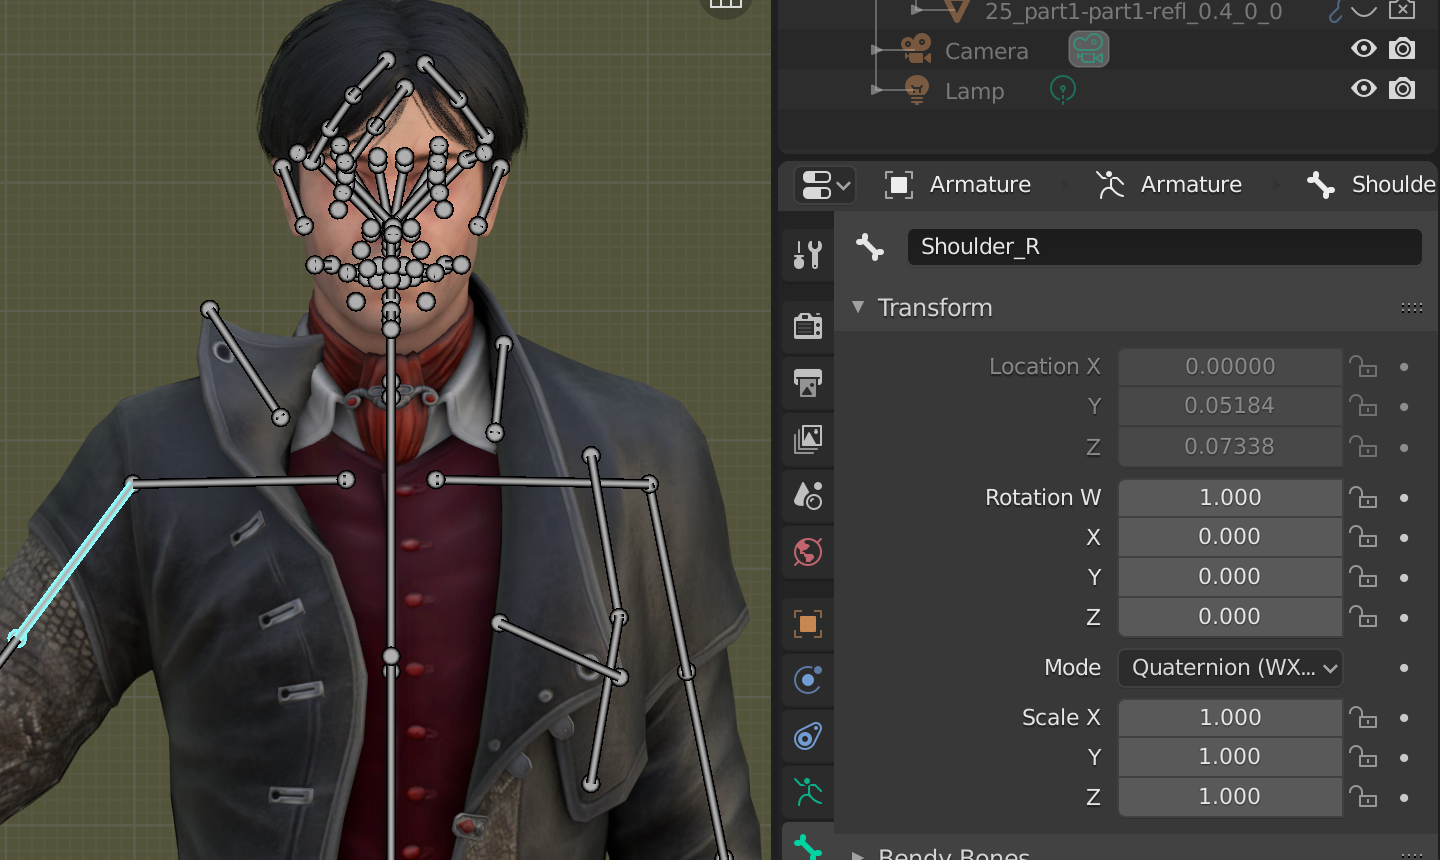
To reset individual bones, you can go to the tab with the green bone icon. Under the Transform dropdown (should already be open), you will see a "Rotation W/X/Y/Z" section. You can right click any of these numbers, and hit "Reset All to Default Values" to reset any edits you've made to the bone.