Pathologic 2
Blender Model Tutorial
Update
You can now download the models through this Google Drive folder. Thank you to RoarkAnimations (Youtube, Twitter) for archiving these and allowing me to share them with everyone.
I've also added the Bachelor's retail model (different from the alpha model that rotten-eye had ripped), the Webley revolver, General Block, and the Polyhedron to that folder.
Summary
These pages contain information on how to download, unpack, set up, pose, and render rotten-eye's Pathologic 2 models in Blender.
If you'd like, you can also view the Pathologic 2 Character Turntables I've made using these models.
You can also view this tutorial as one page.
Table of Contents
- Software needed
- Downloading and Unpacking Models
- Setting Up Models in Blender
- Posing
- Rendering
- Output Settings
- Setting up Cameras
- Lighting with HDRIs / World Shader Nodes
- Animating a Turntable
- Rendering the Turntable
- Looping Turntables in Davinci Resolve
Looping Turntables in Davinci Resolve
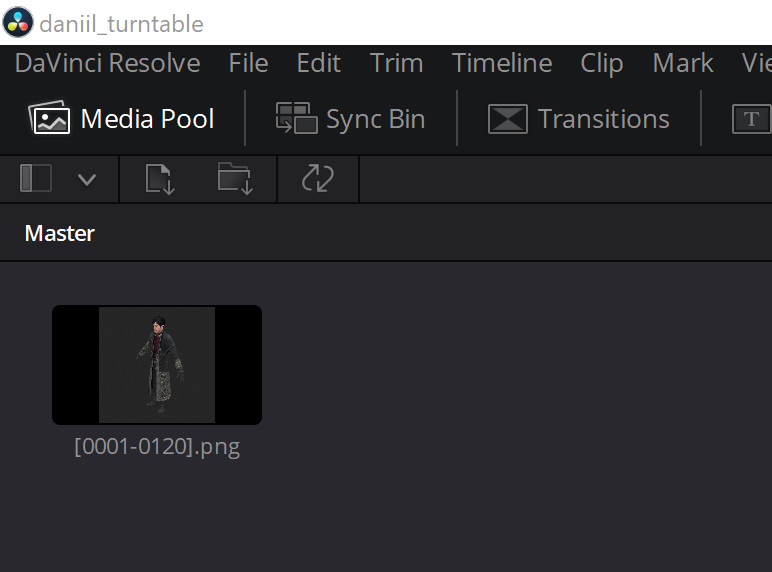
You can import the image sequences you've made in Blender into Davinci Resolve in order to loop them more than once. Launch Davinci Resolve, create a new project, and drag the whole folder into the Media Pool. Then, drag the image sequence into the timeline.
I like to loop it 5 times, so I drag it into the timeline once, drag the needle to the end of the timeline, copy the image sequence I've placed, and paste it 4 more times.
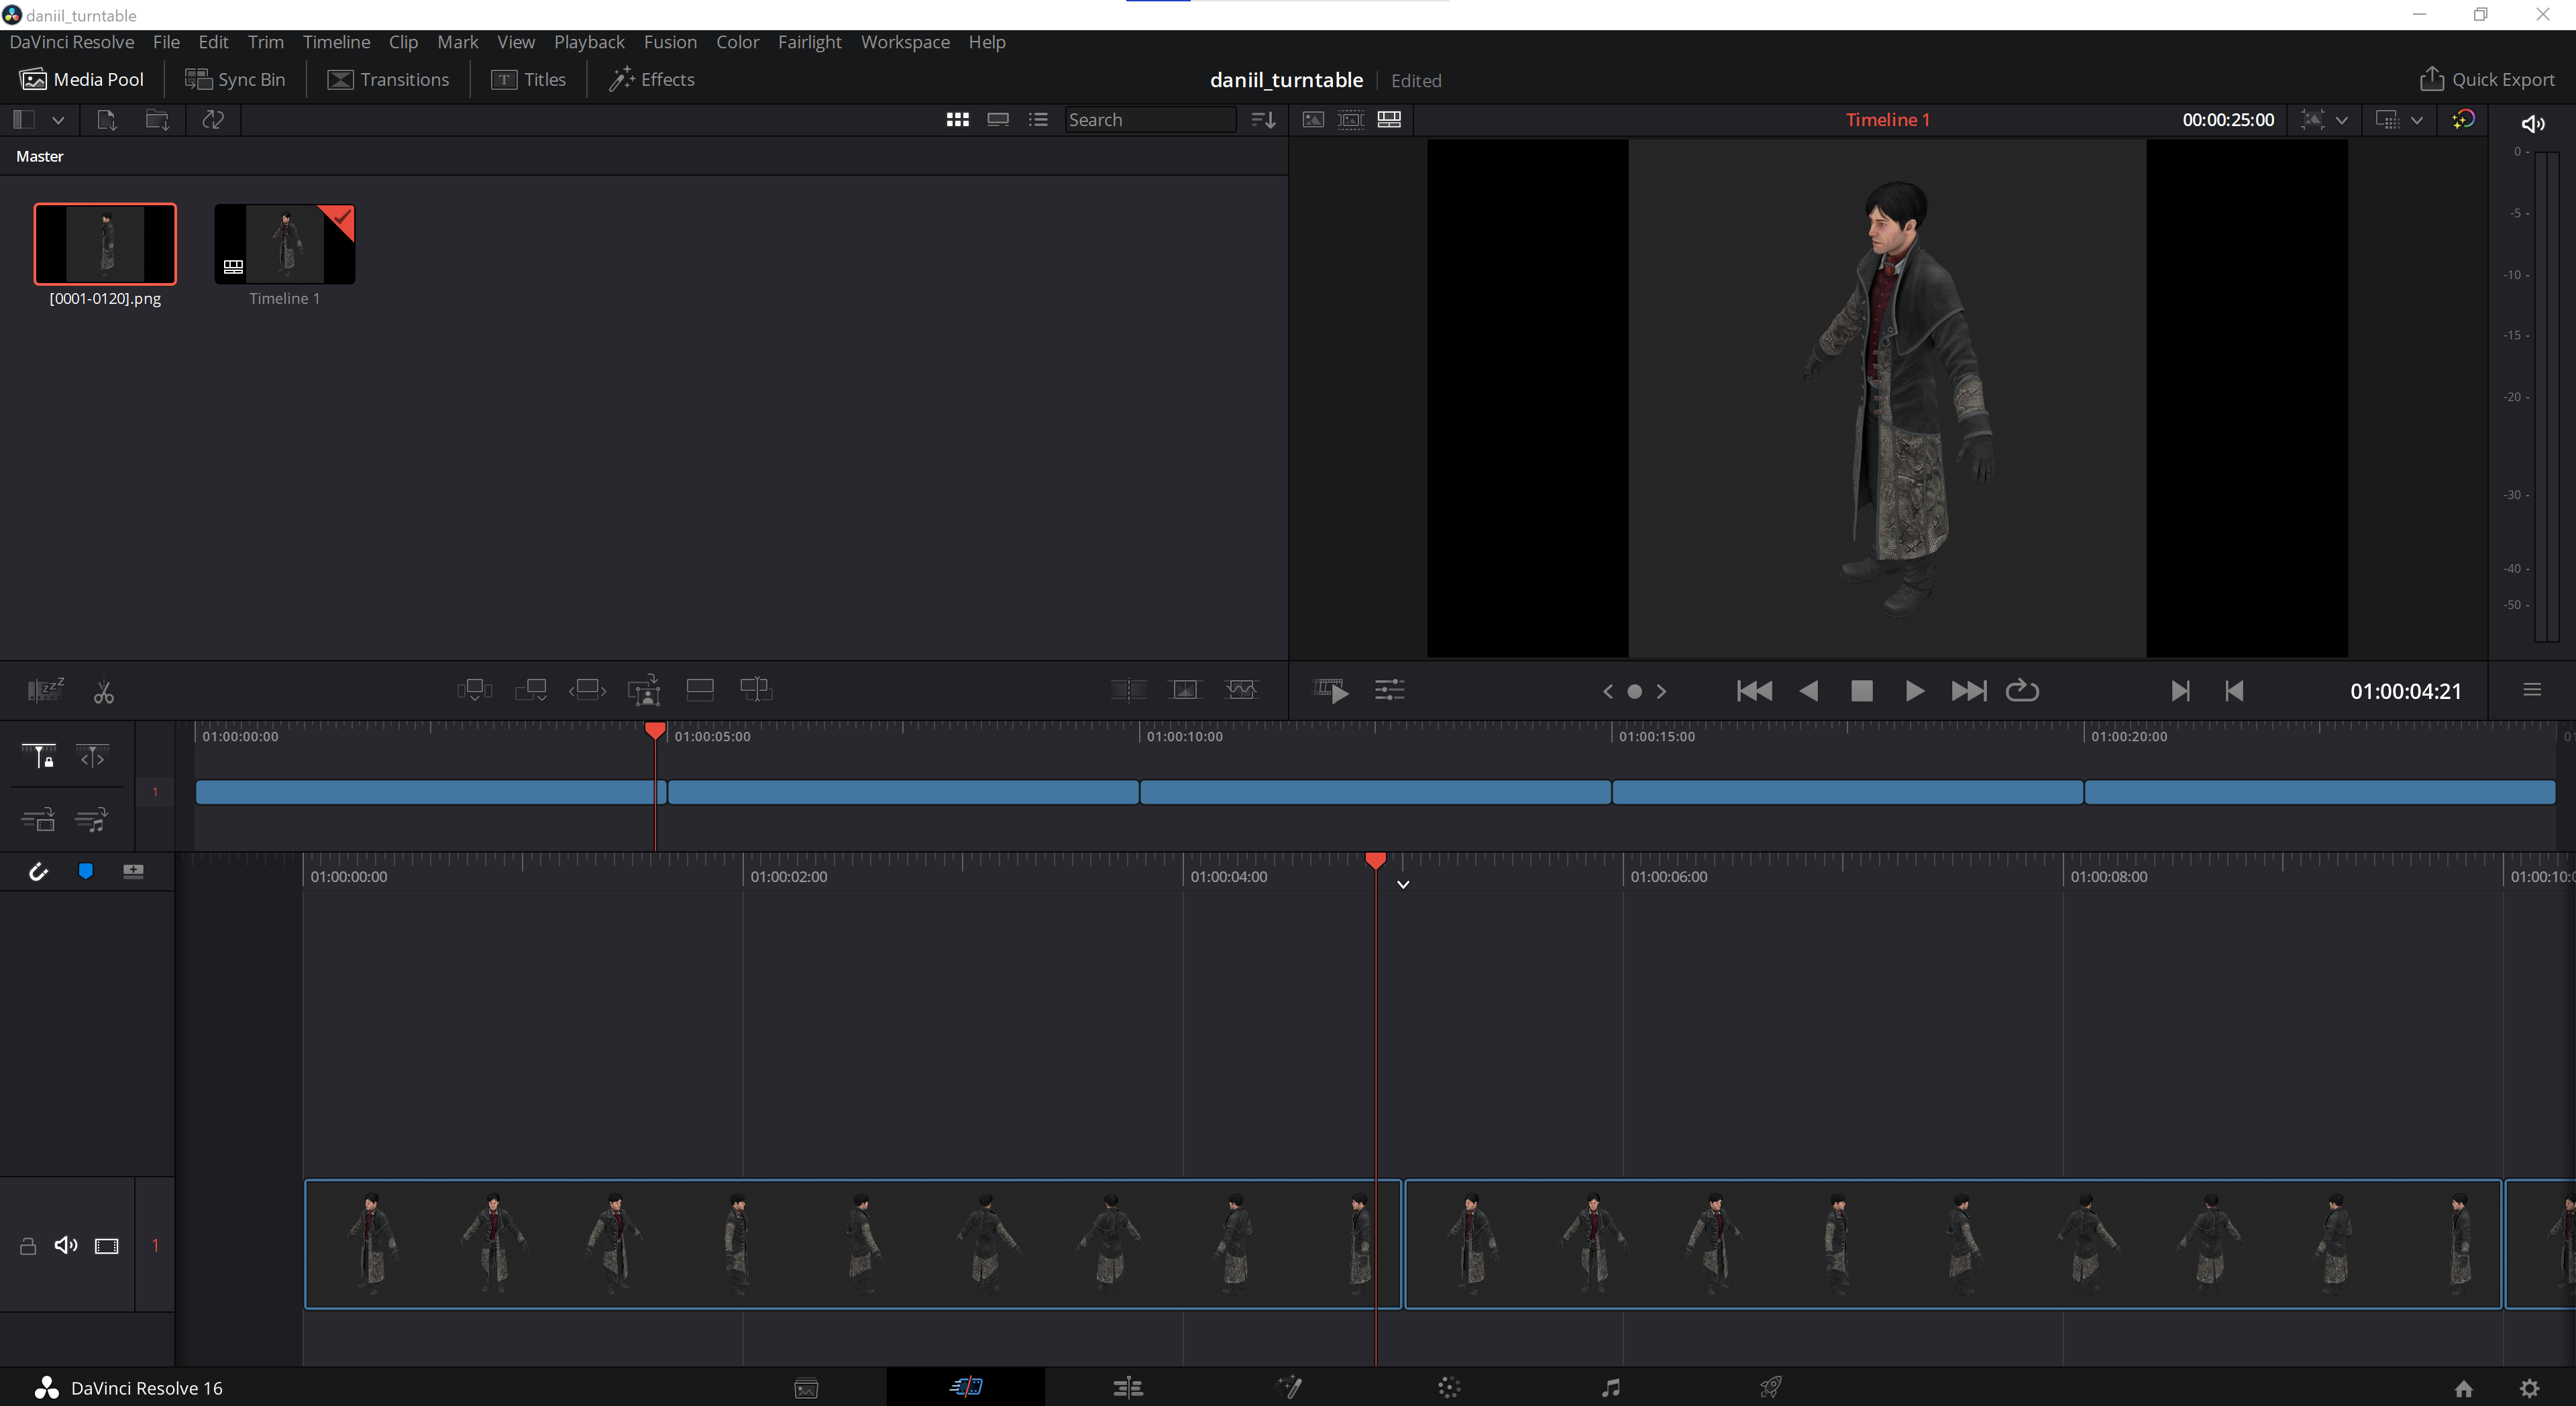
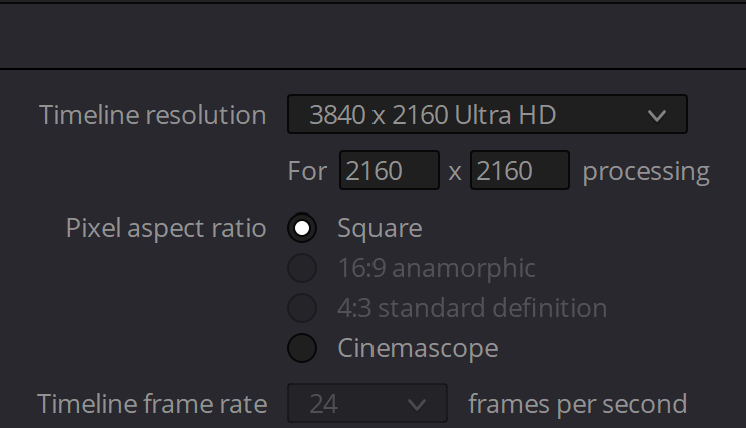
The video doesn't have a square ratio right now (you can tell by the black bars around the image in the preview.) You can change that by going to File / Project Settings on the top-left toolbar. In the Master Settings, we can change the timeline resolution to the size of our render. Mine was 2160px 2160px, which is the largest square video that the free version of Davinci Resolve will render.
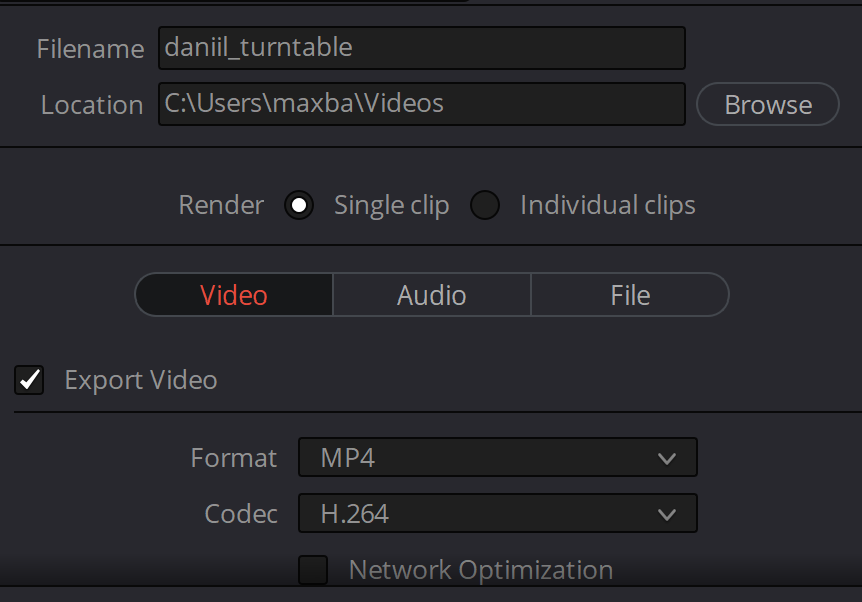
Now, we can render the video. Along the bottom of the screen, you'll see icons for the different workspaces. The last one that looks like a rocket is the render workspace. Click on this one. Here, we'll give the file a name, and select where we want to render it. I also recommend changing the format to mp4, because that's the format you can most easily upload to Twitter and Youtube.
Hit "Add to Render Queue", and if it's grayed out for some reason, select Render: Individual clips, and then select Render: Single clip again. Once in the Render Queue, you can hit Start Render.
Congratulations! You now have a lot of pictures of Daniil on your computer. Or maybe you have better taste than me and rendered a turntable for someone else... Who knows. Hope you found this tutorial useful, and many thanks to rotten-eye on deviantArt for extracting these models!