Pathologic 2
Blender Model Tutorial
Update
You can now download the models through this Google Drive folder. Thank you to RoarkAnimations (Youtube, Twitter) for archiving these and allowing me to share them with everyone.
I've also added the Bachelor's retail model (different from the alpha model that rotten-eye had ripped), the Webley revolver, General Block, and the Polyhedron to that folder.
Summary
These pages contain information on how to download, unpack, set up, pose, and render rotten-eye's Pathologic 2 models in Blender.
If you'd like, you can also view the Pathologic 2 Character Turntables I've made using these models.
You can also view this tutorial as one page.
Table of Contents
- Software needed
- Downloading and Unpacking Models
- Setting Up Models in Blender
- Posing
- Rendering
- Output Settings
- Setting up Cameras
- Lighting with HDRIs / World Shader Nodes
- Animating a Turntable
- Rendering the Turntable
- Looping Turntables in Davinci Resolve
Adding More Than One Model to a Scene
If you'd like to have more than one model in a scene, you can append collections from different .blend files into one scene. A collection is like a folder that can contain multiple objects, as well as all of the links between these objects.
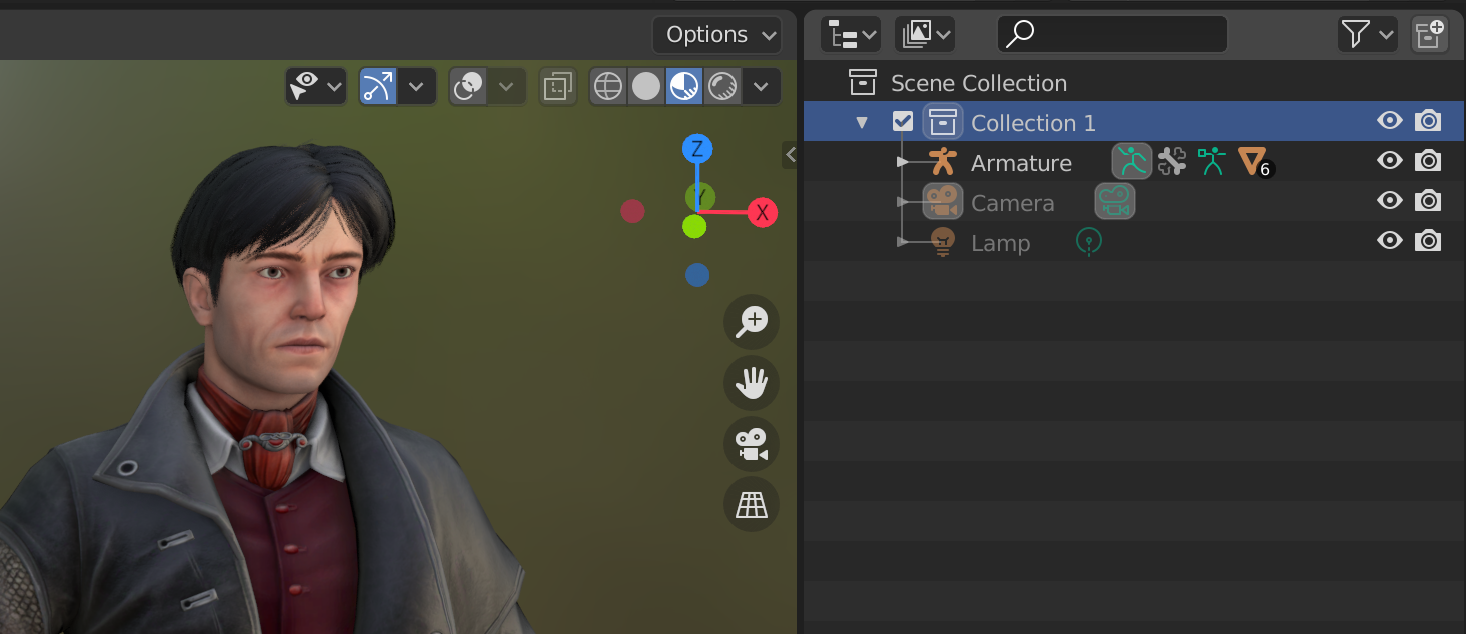
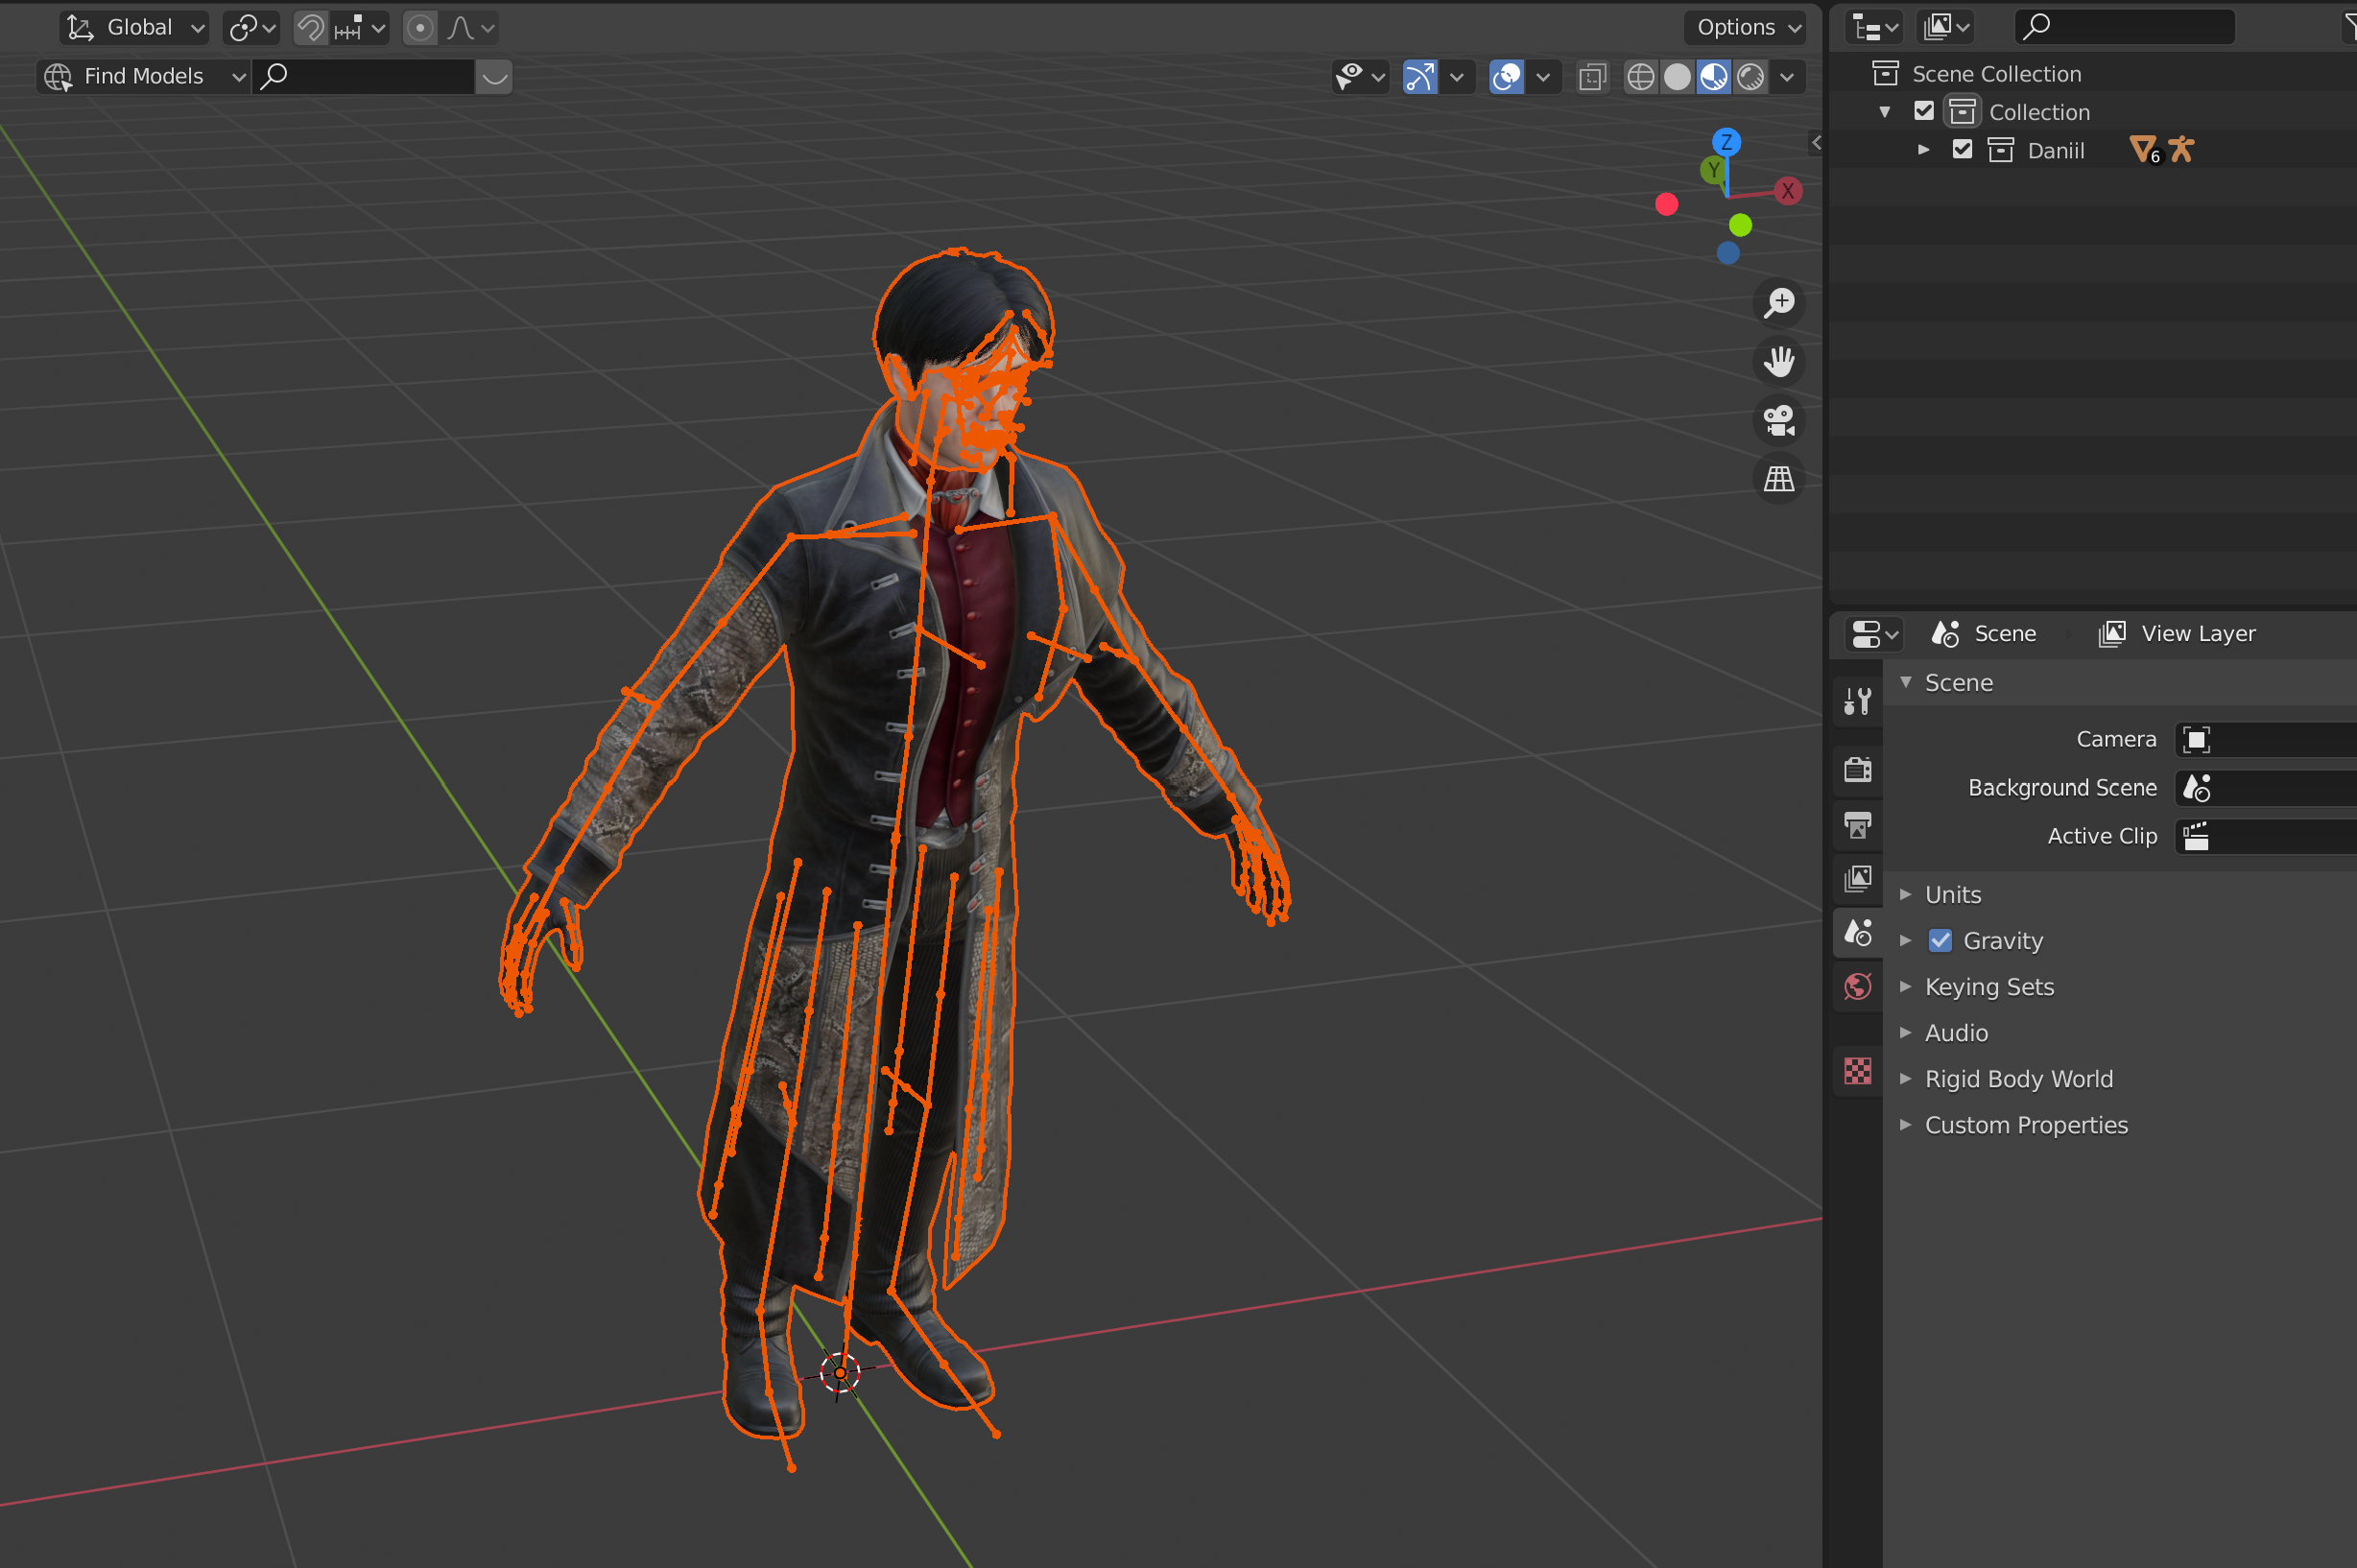
First, you'll want to make sure that your model is all set up in the original facebones.blend file that you first opened it in. Besides setting up materials, you'll want to rename the collection that the armature is in to the character's name, as well as deleting the camera and lamp. It isn't technically necessary, but it does make life easier.
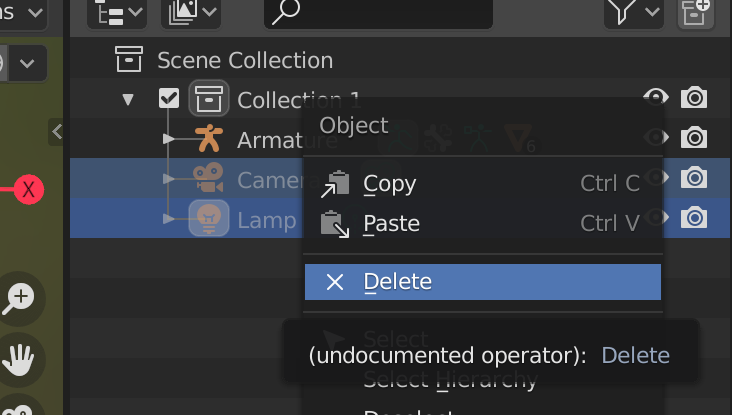
To delete items in the scene collection, right click on them and select "Delete". You can select multiple objects by selecting one, then crtl/CMD + left clicking another. You can select several in a row by left clicking the first one you want to select, and then holding shift and left clicking the last one you want to select.
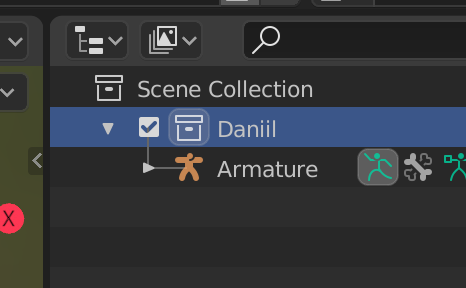
To rename the collection the armature is in, double-click "Collection 1" and type in the new name.
Now, you can create a brand new Blender file where you'll load in all of the collections from the different facebones.blend files. You can do this by pressing ctrl/CMD + N and selecting "General" in the popup menu.
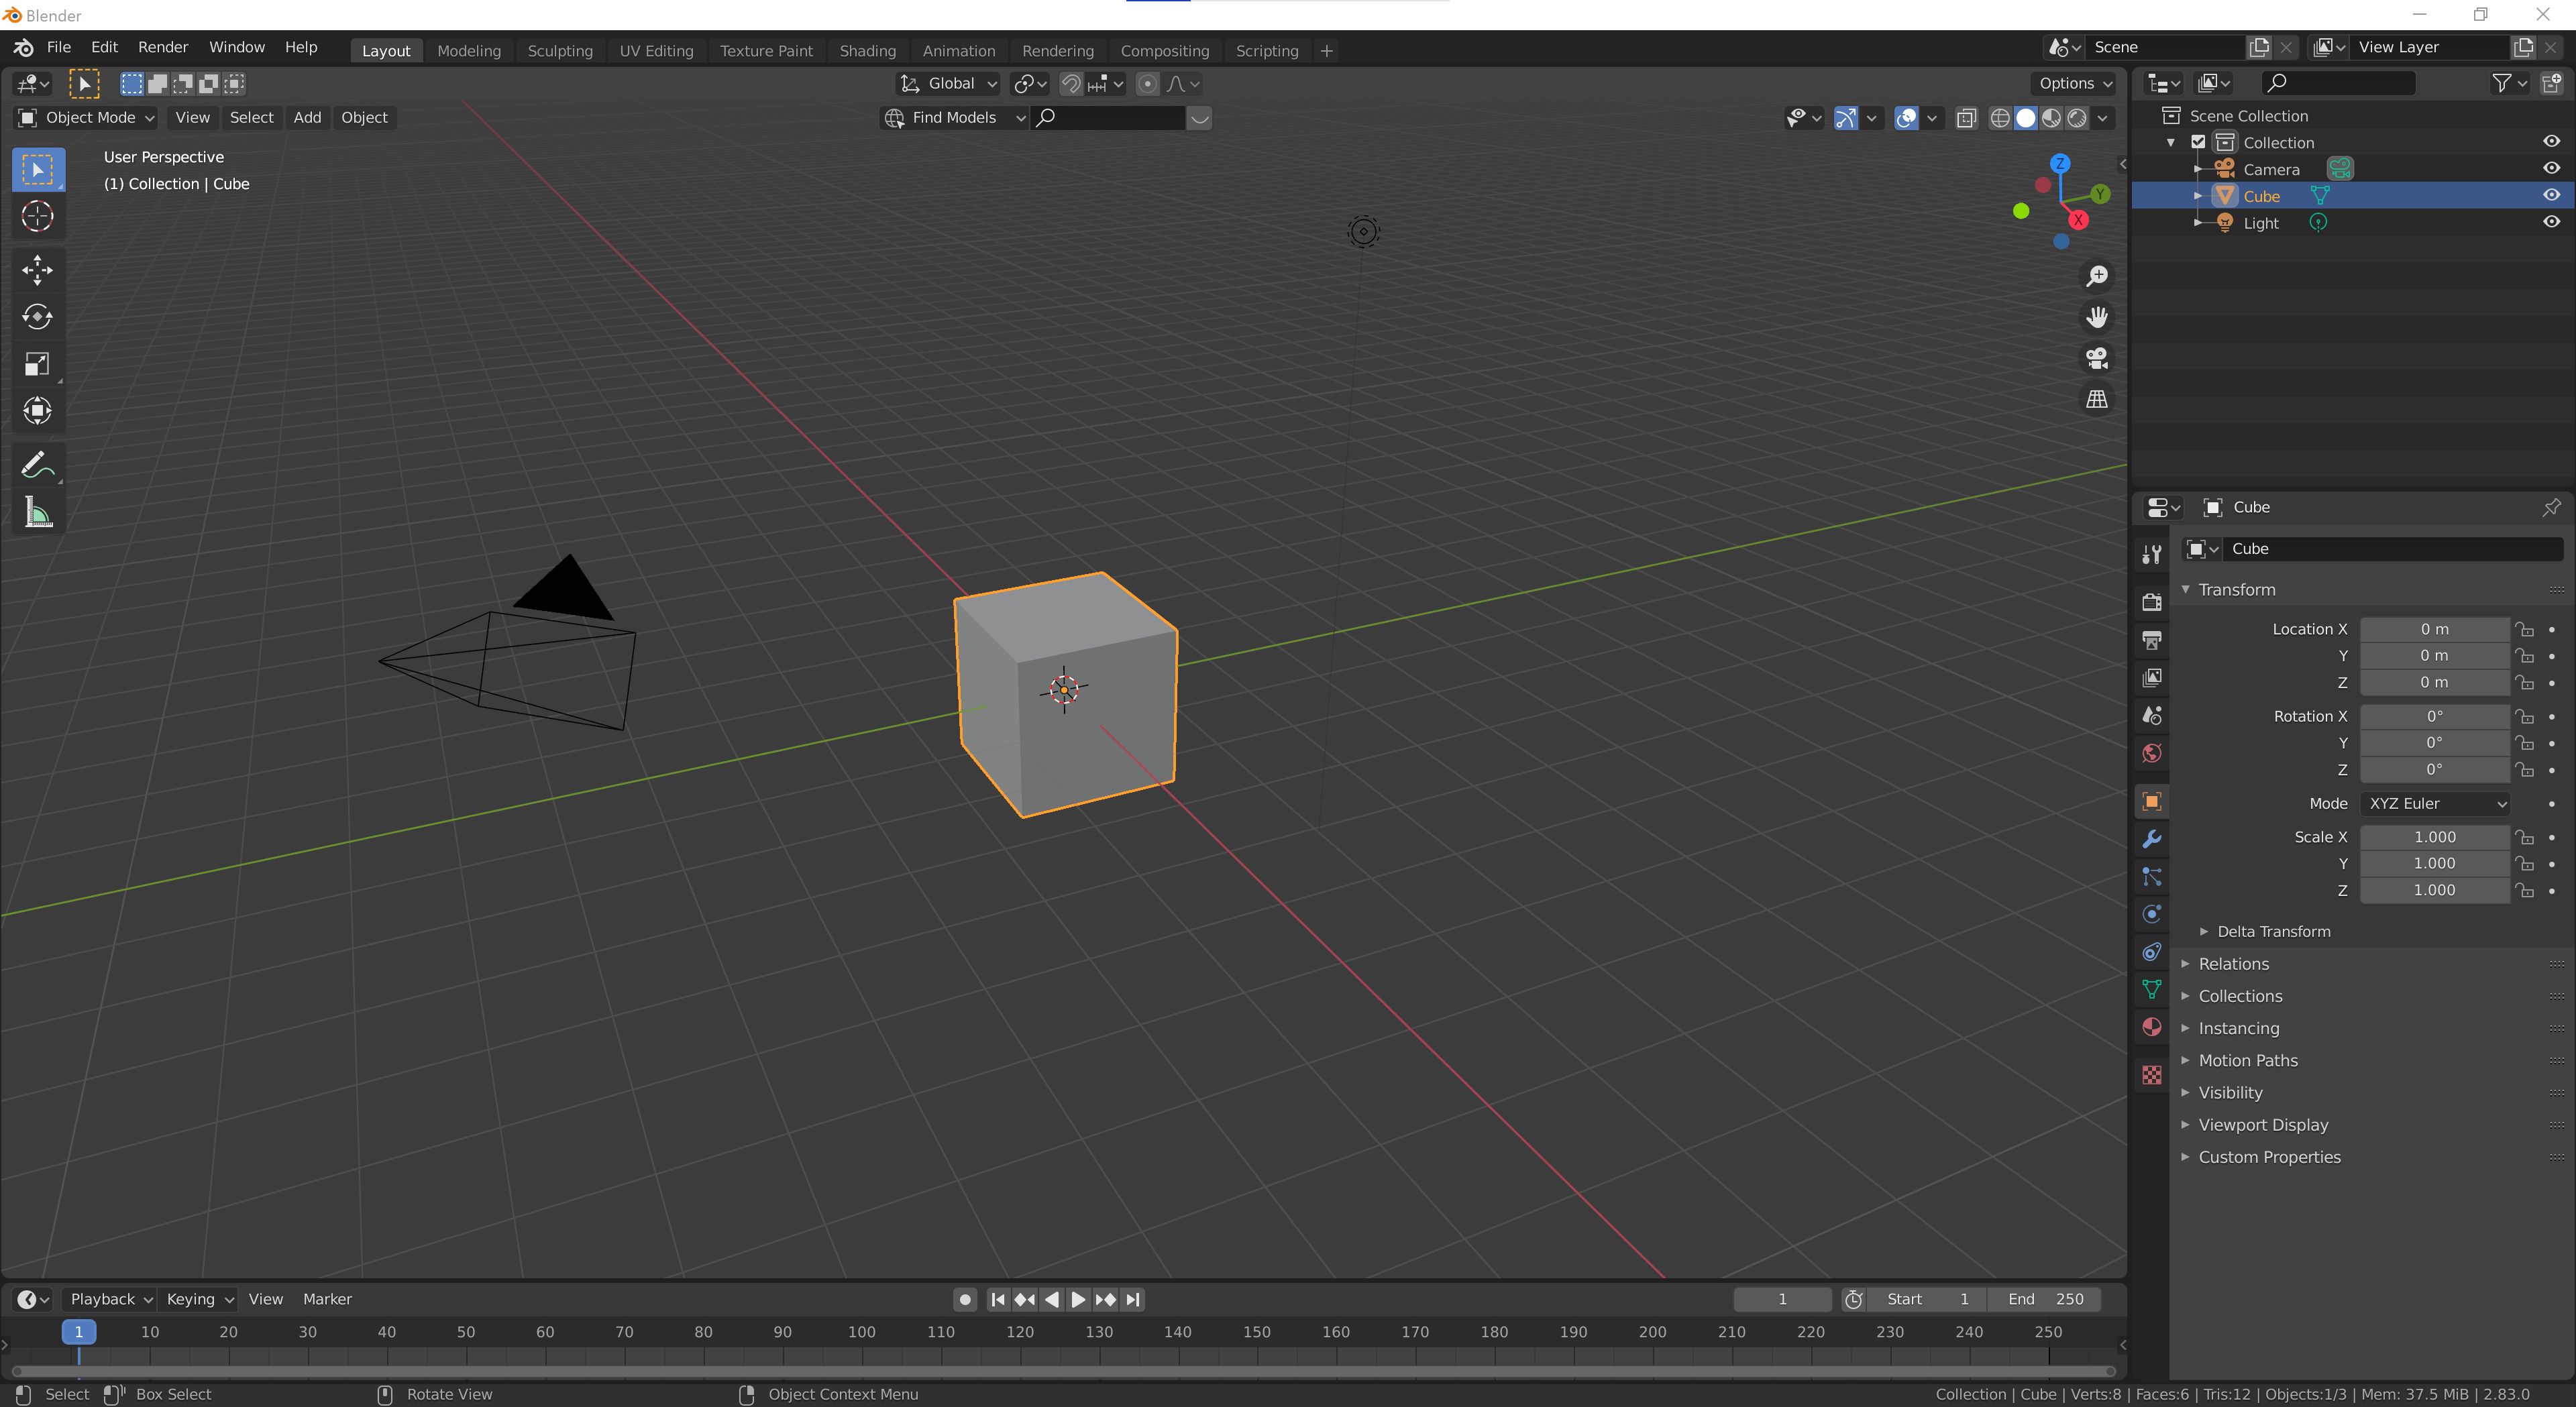
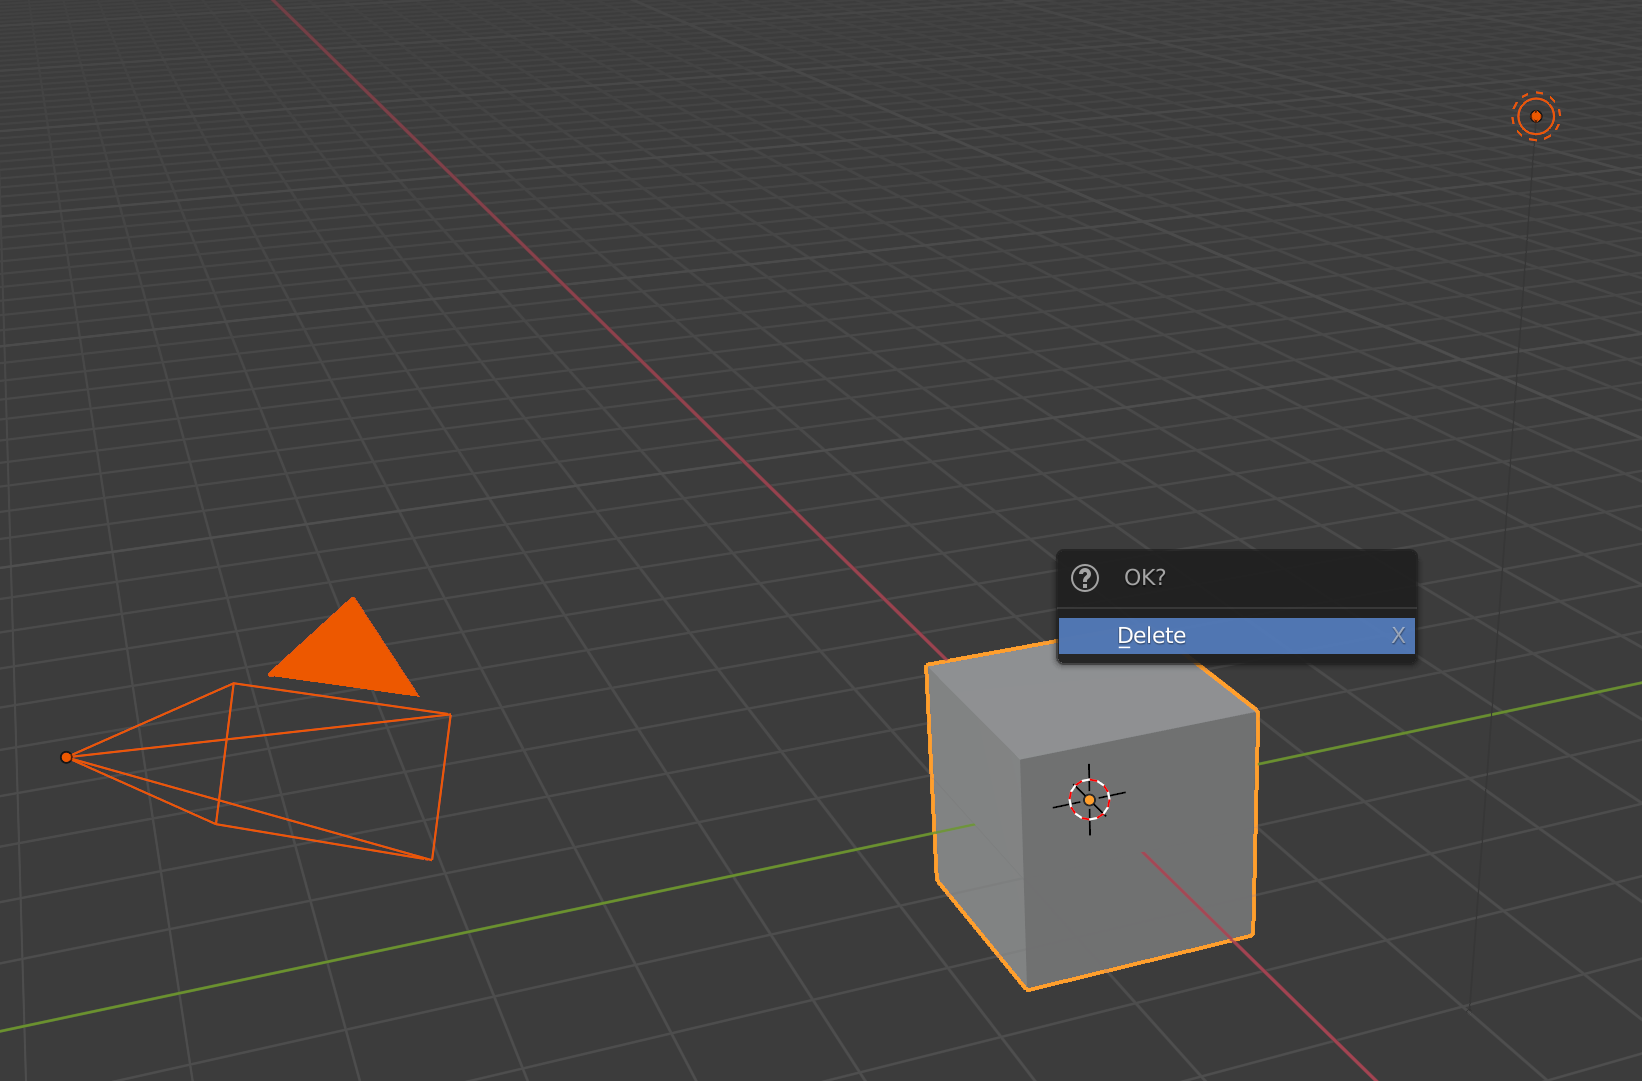
This is the default scene you're greeted with. You can delete the camera, lights, and cube by pressing A inside of the 3D viewport, and with everything highlighted in orange, you can hit X to delete everything. We'll be setting up our own cameras, as well as using a different lighting technique later on, so these aren't necessary.
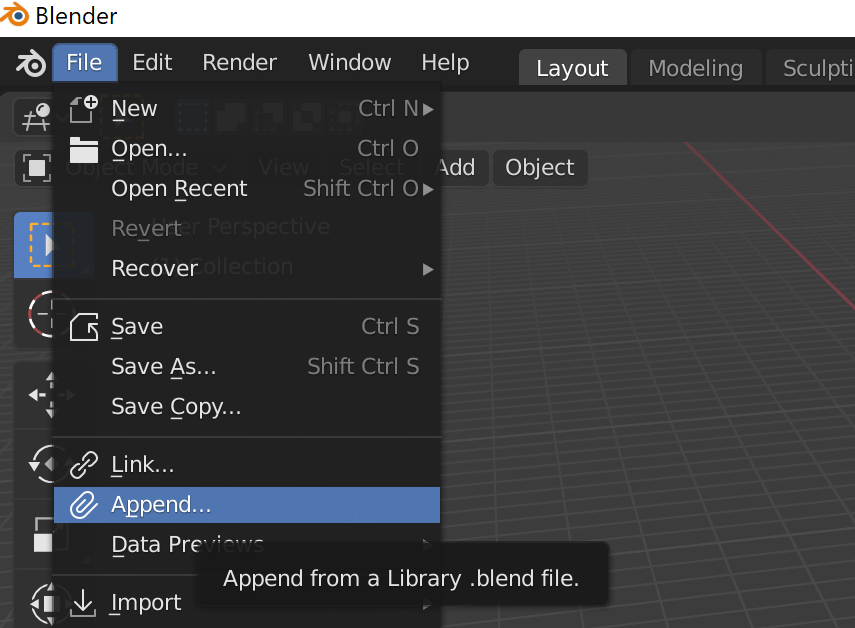
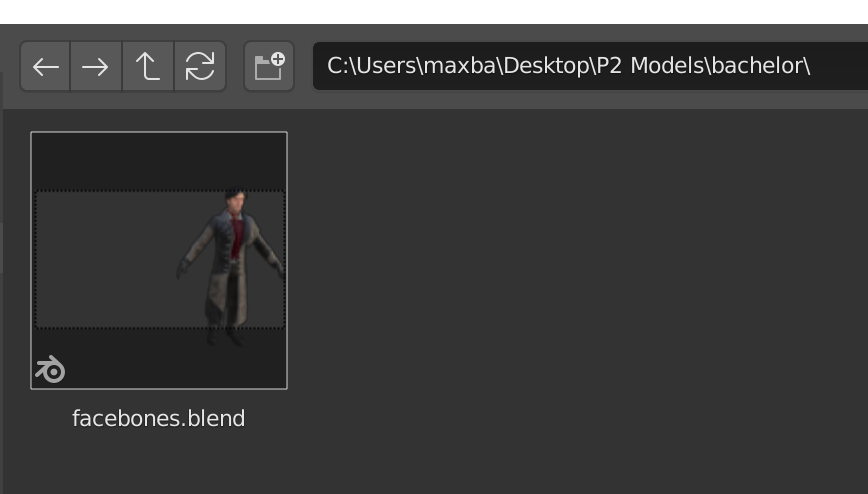
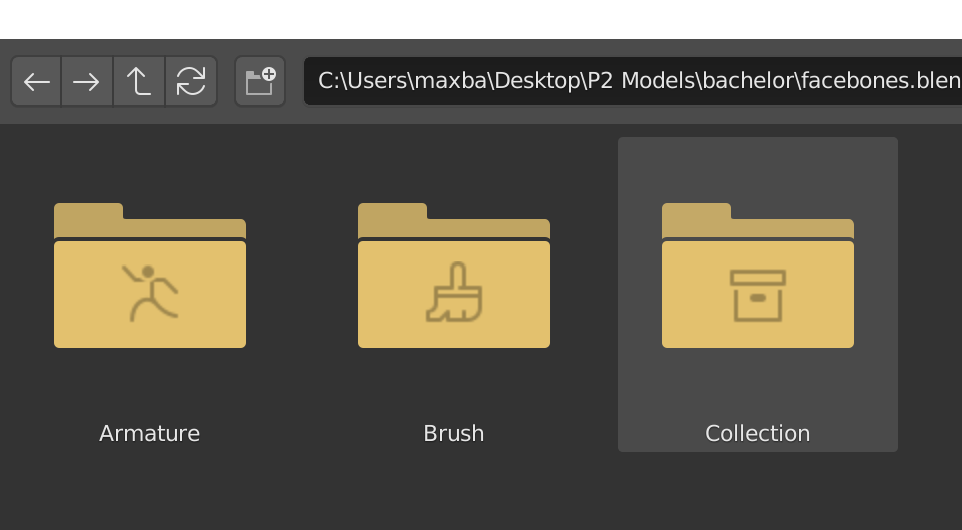
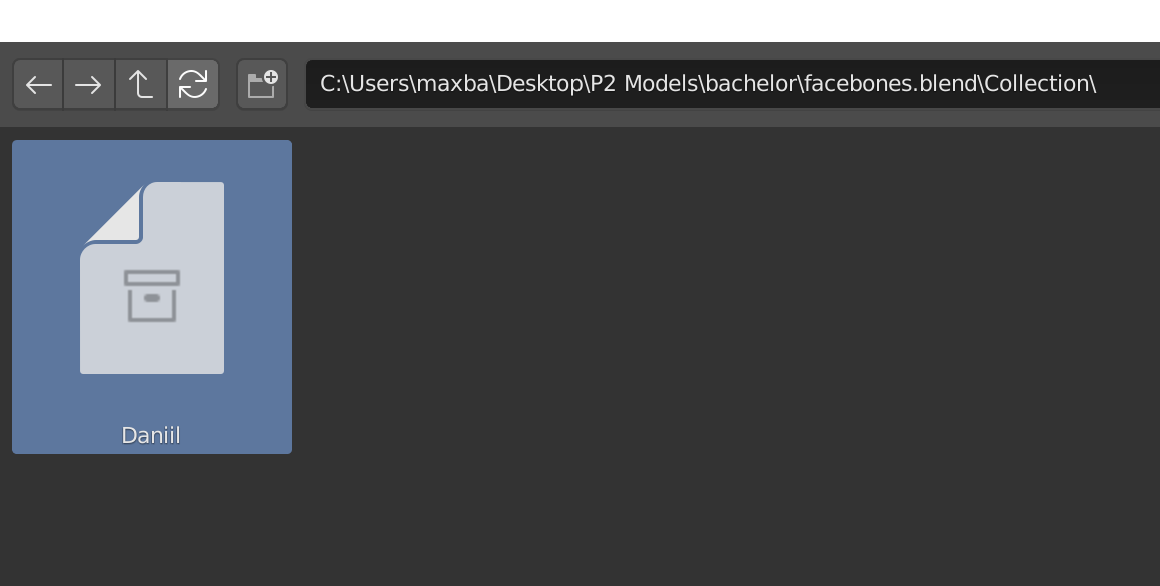
To append a collection from a different .blend file, you can navigate to the top-left most toolbar, and go to File / Append. This will open up the Blender File Viewer. Navigate to where you have your facebones.blend file, and double-click on the file itself to view its contents. Then, double-click "Collection", and here you should find the collection you renamed earlier. Select it, and hit "Append" at the bottom right of the file viewer.
Here, I've repeated the appending process with the Haruspex and Changeling models. I moved them to the side by selecting their armatures, hitting G (to grab) while having my mouse over the 3D Viewport, and hitting X to move them along the global X axis.
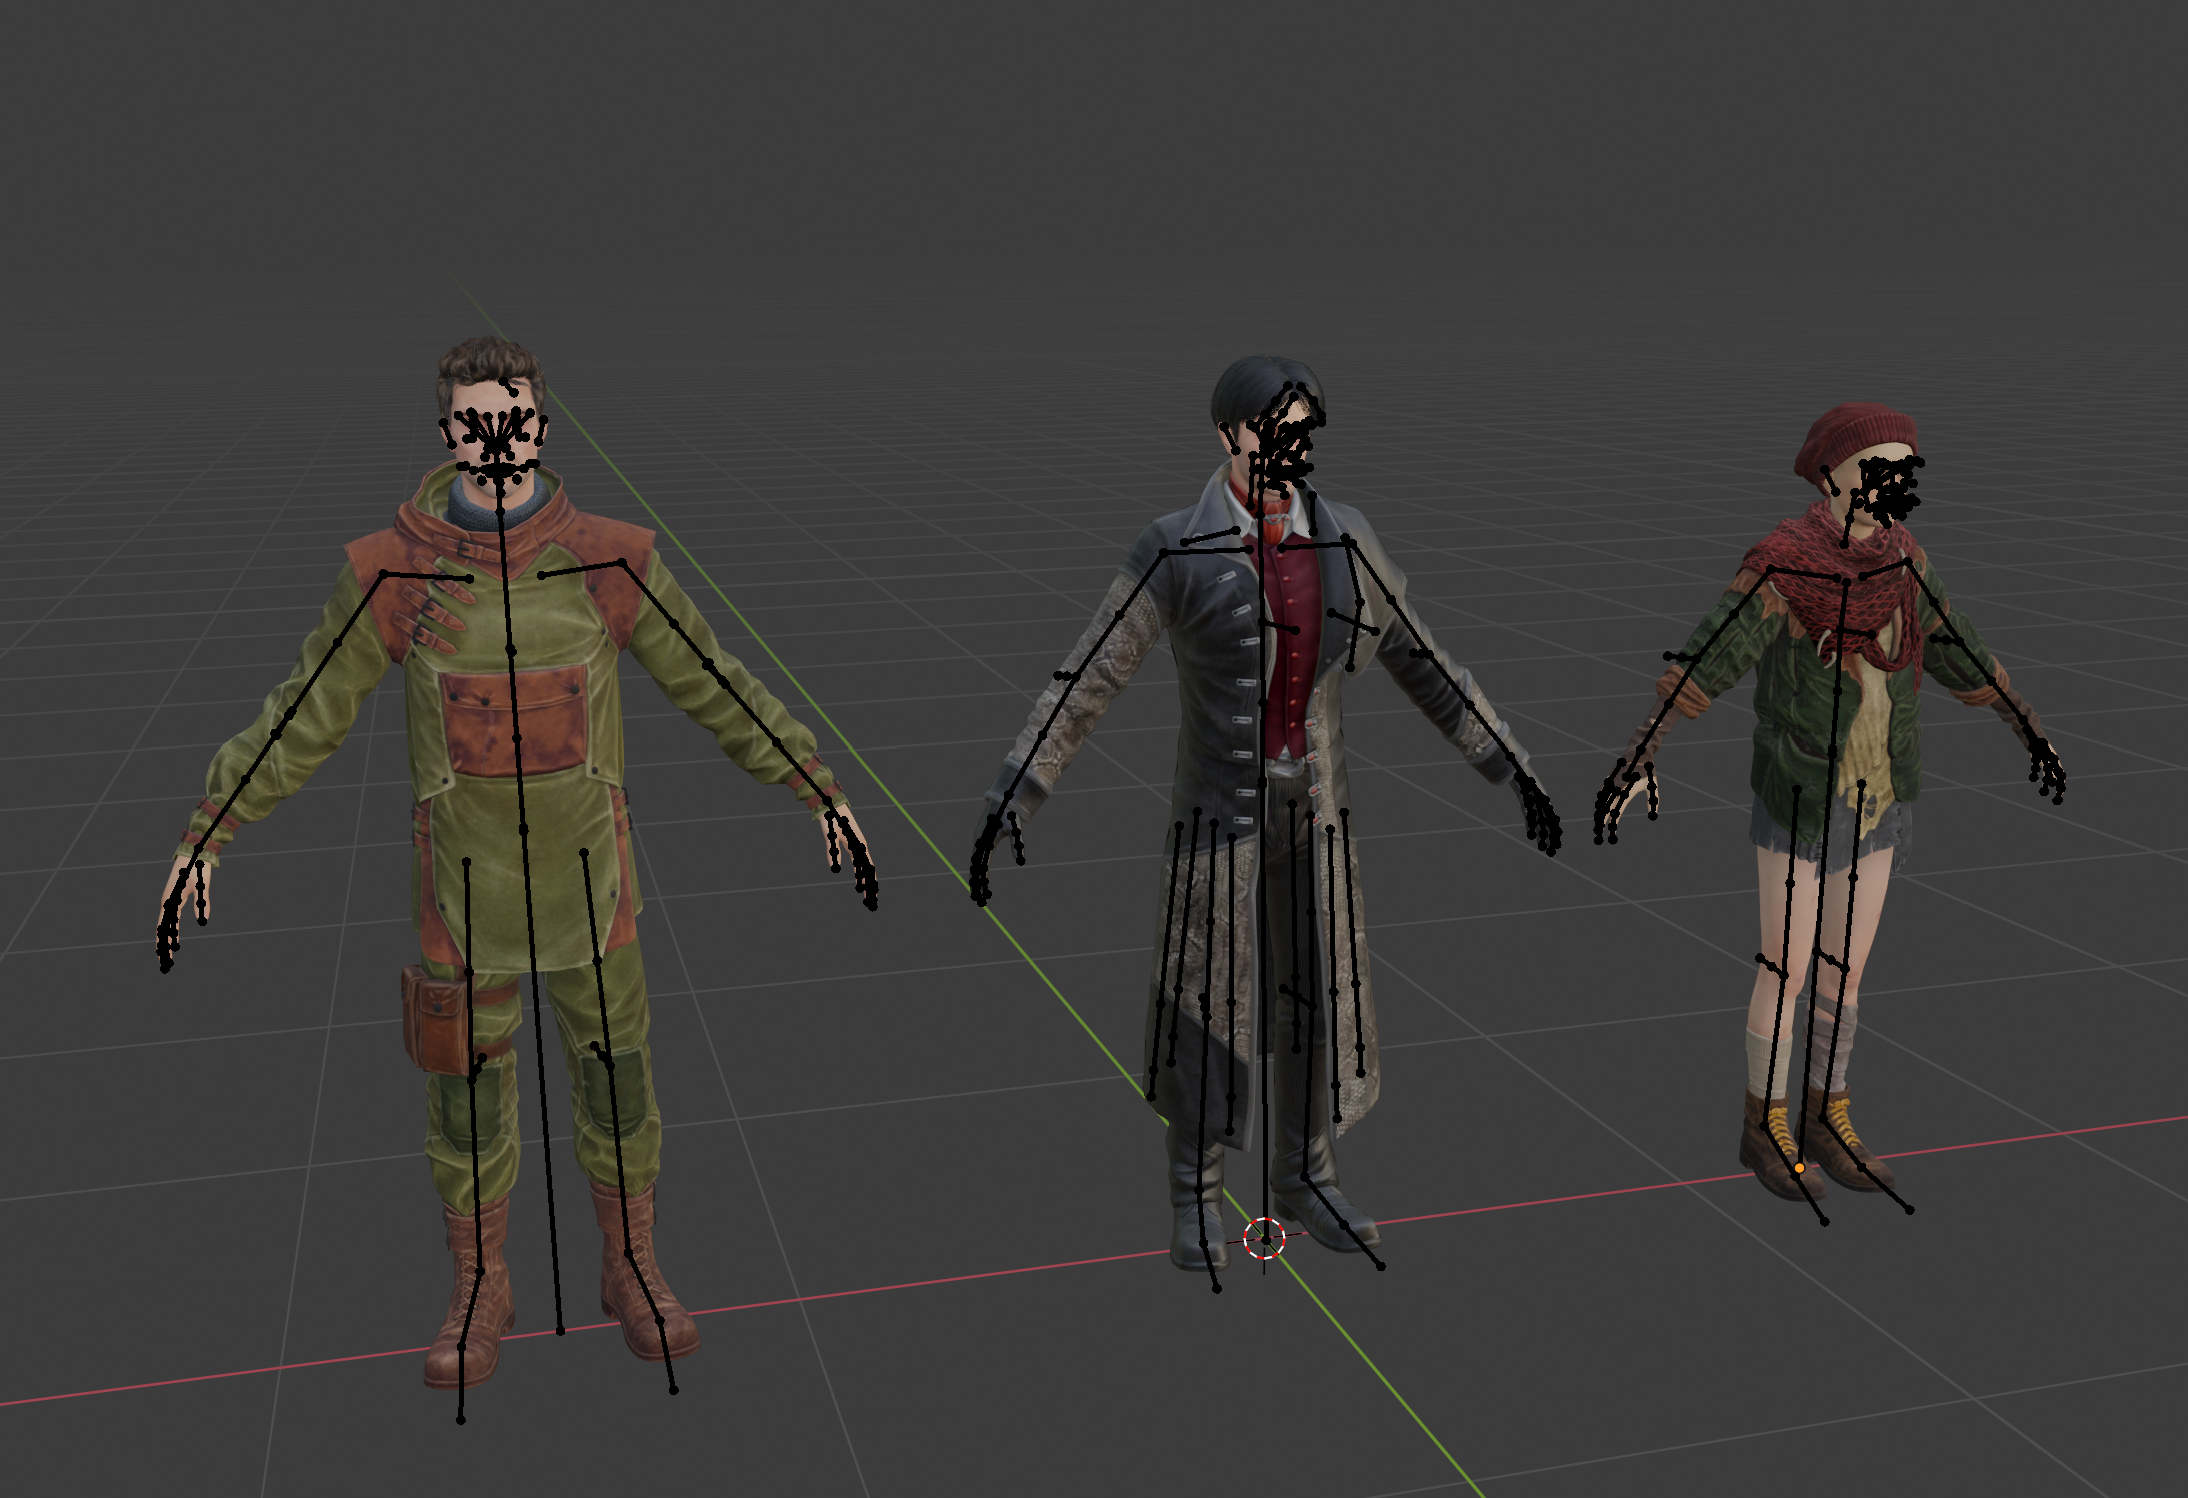
However, I generally keep them where they load in (at the center of the world), since it makes rendering things like turntables easier. I'll show you how to set up the cameras, lights, animations, and output settings for something like a turntable.