Pathologic 2
Blender Model Tutorial
Update
You can now download the models through this Google Drive folder. Thank you to RoarkAnimations (Youtube, Twitter) for archiving these and allowing me to share them with everyone.
I've also added the Bachelor's retail model (different from the alpha model that rotten-eye had ripped), the Webley revolver, General Block, and the Polyhedron to that folder.
Summary
These pages contain information on how to download, unpack, set up, pose, and render rotten-eye's Pathologic 2 models in Blender.
If you'd like, you can also view the Pathologic 2 Character Turntables I've made using these models.
You can also view this tutorial as one page.
Table of Contents
- Software needed
- Downloading and Unpacking Models
- Setting Up Models in Blender
- Posing
- Rendering
- Output Settings
- Setting up Cameras
- Lighting with HDRIs / World Shader Nodes
- Animating a Turntable
- Rendering the Turntable
- Looping Turntables in Davinci Resolve
Animating a Turntable
To animate a turntable, we will create an invisible, rotating object, and then we will copy that rotation onto our models.
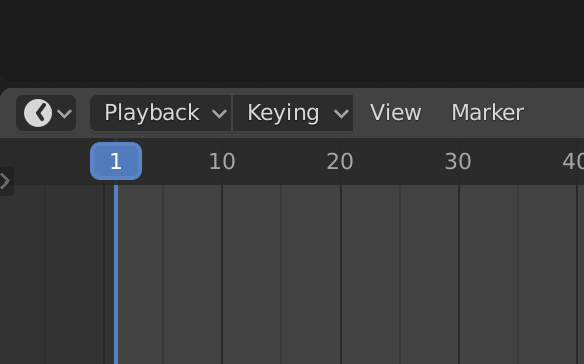
First, switch over to the Layout workspace in the top toolbar, since this workspace has a timeline. The Layout workspace is the very first one.
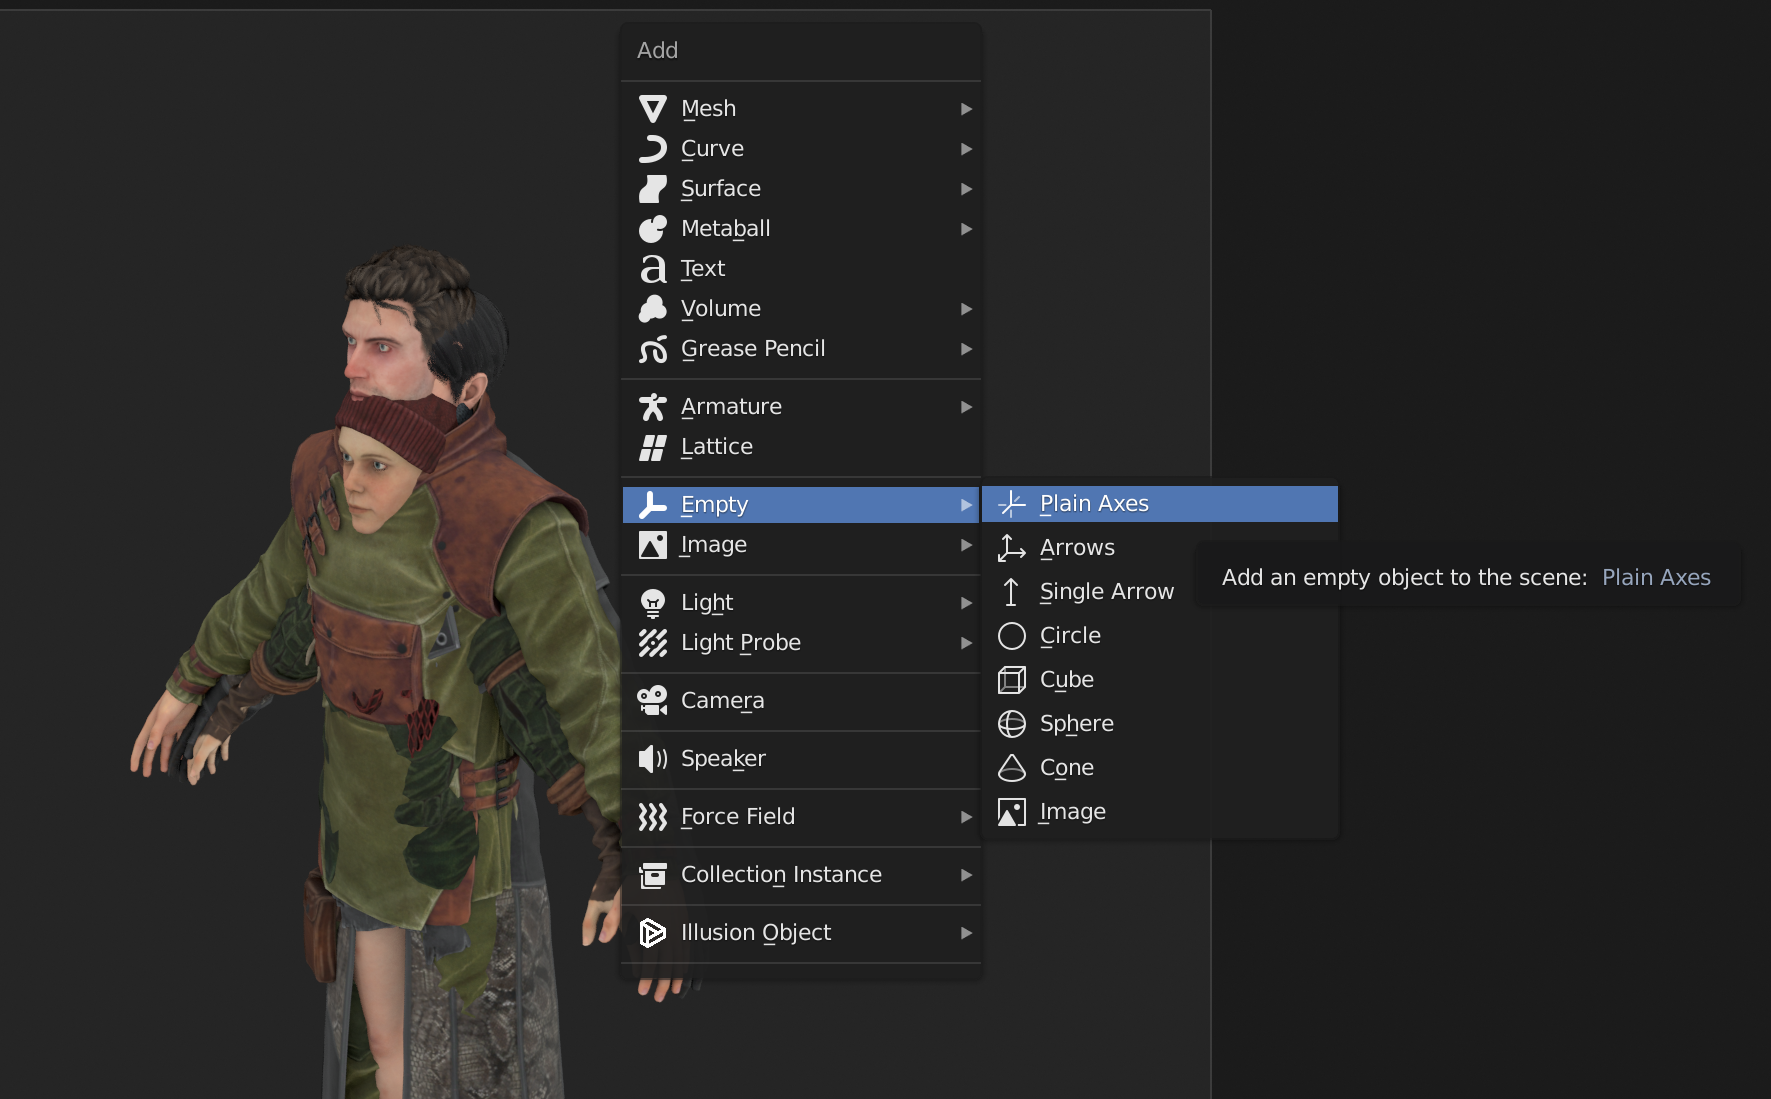
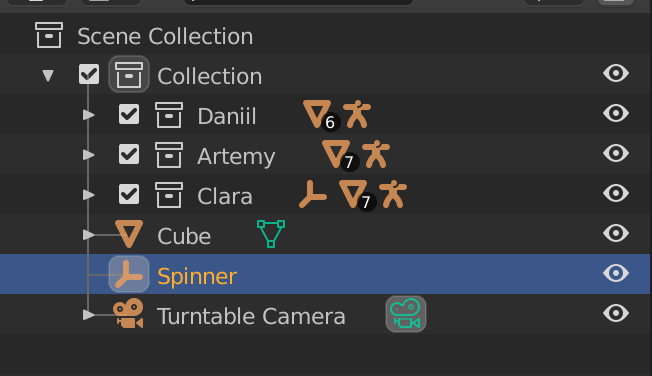
Then, press shift + A in the 3D Viewport, and select Plain Axes under Empty. Make sure this object is in the outermost collection, and not hidden in one of the character collections. Rename it to "Spinner."
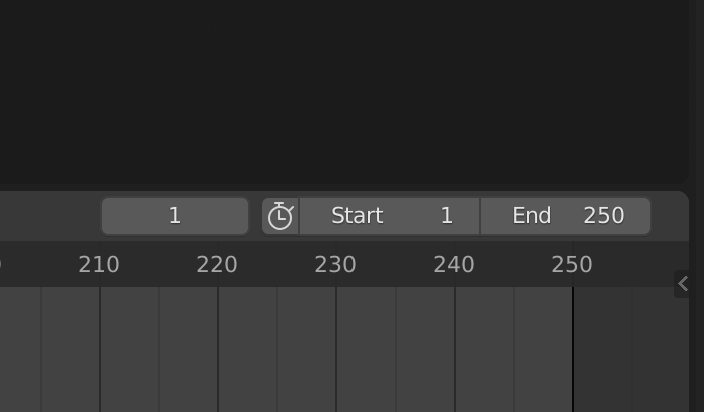
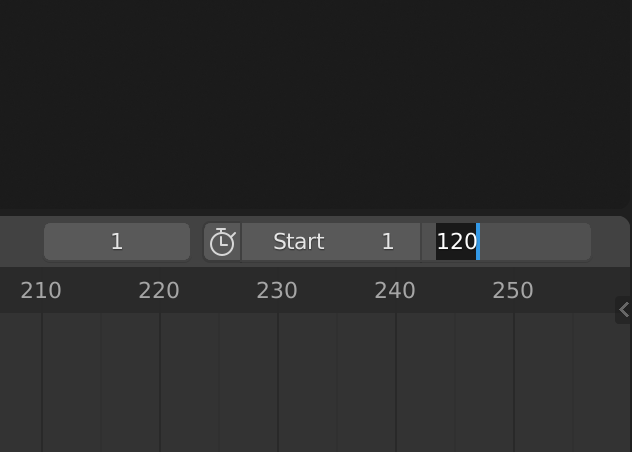
Now, we will change the timeline length from 250 frames to 120 frames. Since Blender creates animations at 24 frames per second by default, 120 frames will give us 5 seconds of animation. You can change this by going to the right side of the timeline, clicking the End value, and writing in 120.
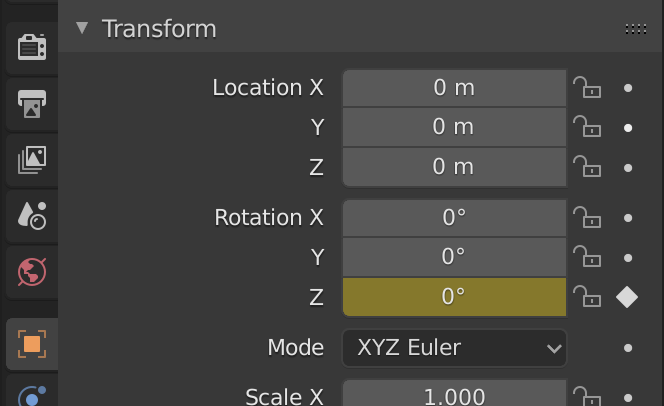
Now, we'll animate the empty. First, make sure the timeline needle is on the first frame. Then, in the empty's Object properties (orange square with borders), click on the dot next to the lock on the Z rotation. The Z value will change color, and a keyframe will also be created on the timeline on frame 1.
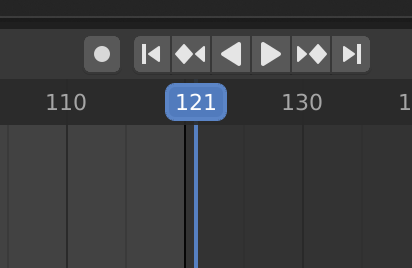
You can leave those values as is. Next, you'll want to move to frame 121, which is exactly one frame after the animation ends. We go 1 frame over in order for the looping turntable animation to not have a repeat frame at the end.
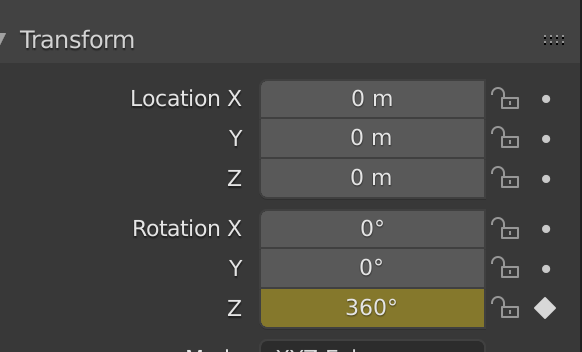
On the Z rotation value for this frame, we'll write 360. Then, we'll click on the diamond next to the lock to commit the change. You'll see a new keyframe appear on the timeline.
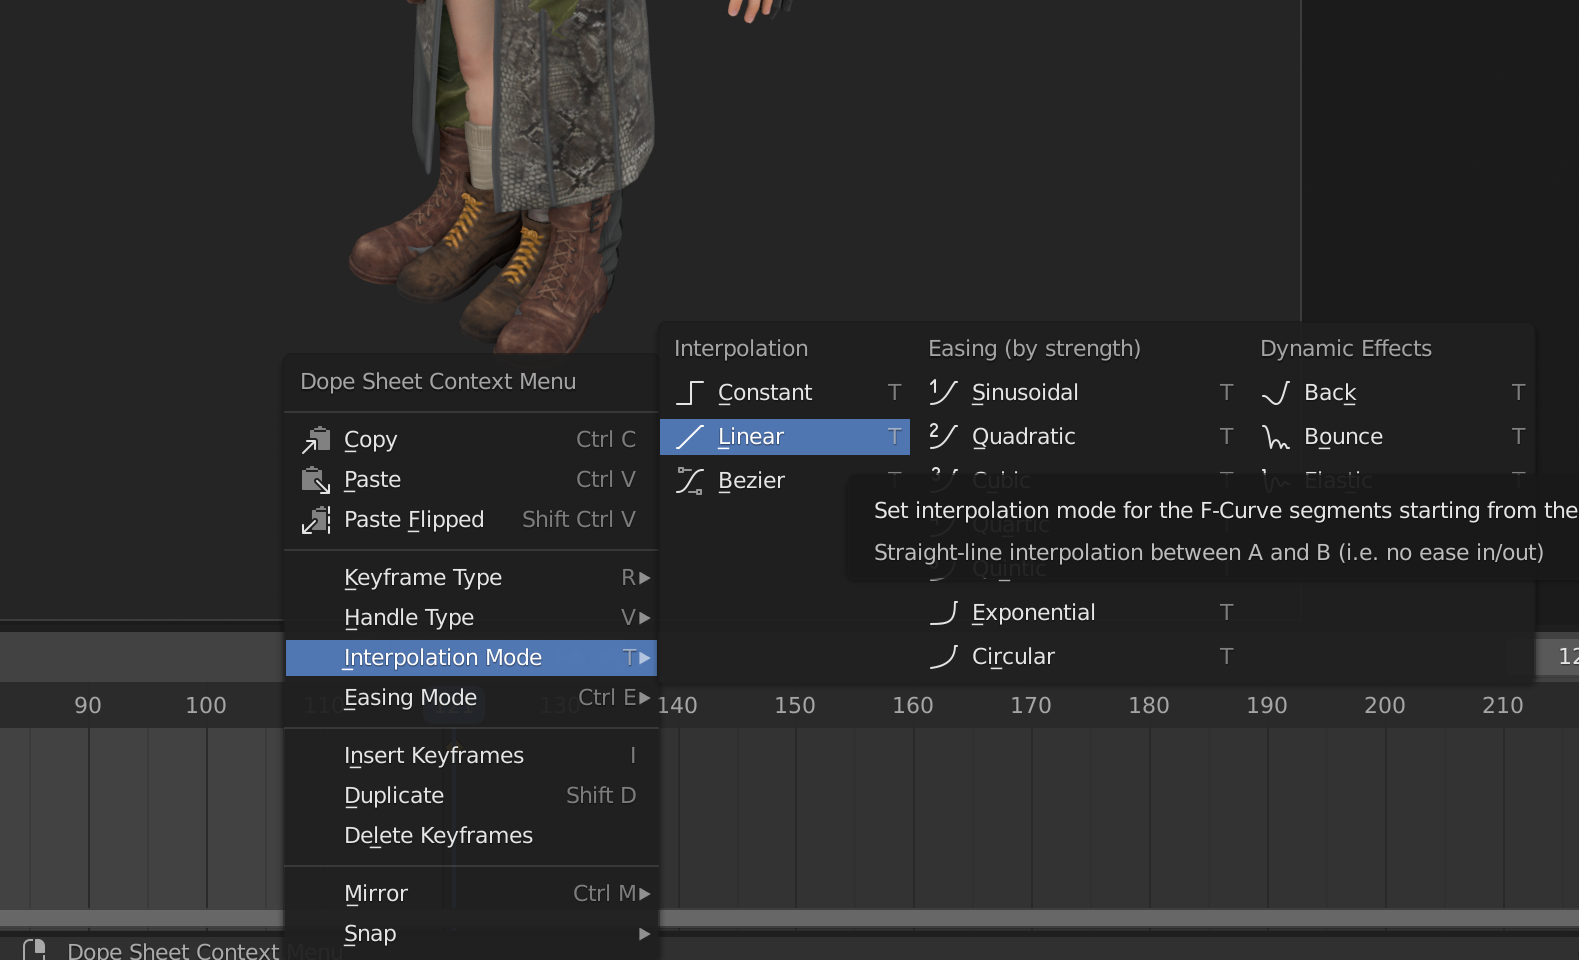
By default, movement between keyframes has some easing applied to it. To remove this easing, you can select every keyframe in the timeline by pressing A while having your cursor in the timeline, right clicking, and selecting Interpolation Mode / Linear.
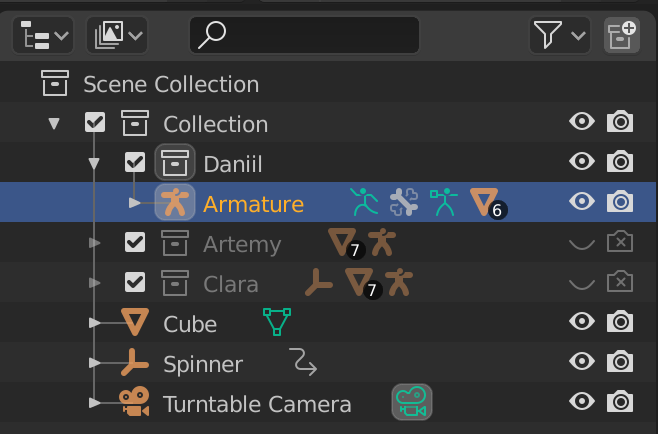
Now, we can copy this rotation to any of our character's armatures. Select the armature you want to rotate in the Scene Collecton, and hide the rest in the Viewport and Rendered views.
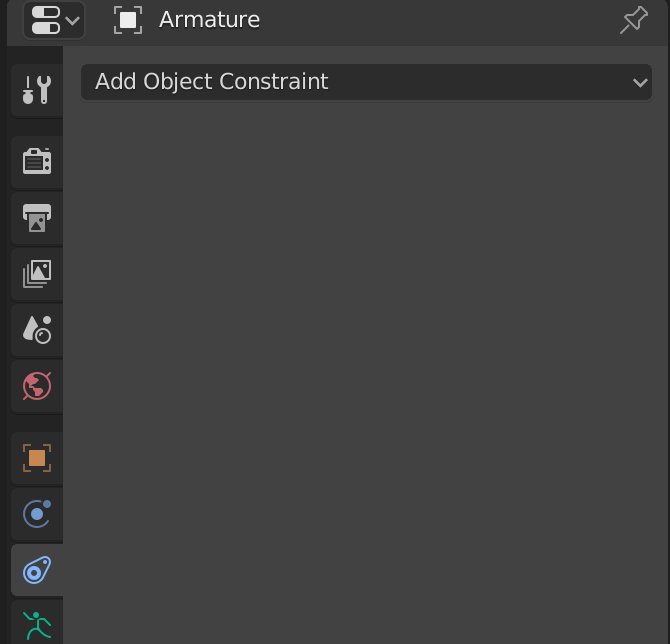
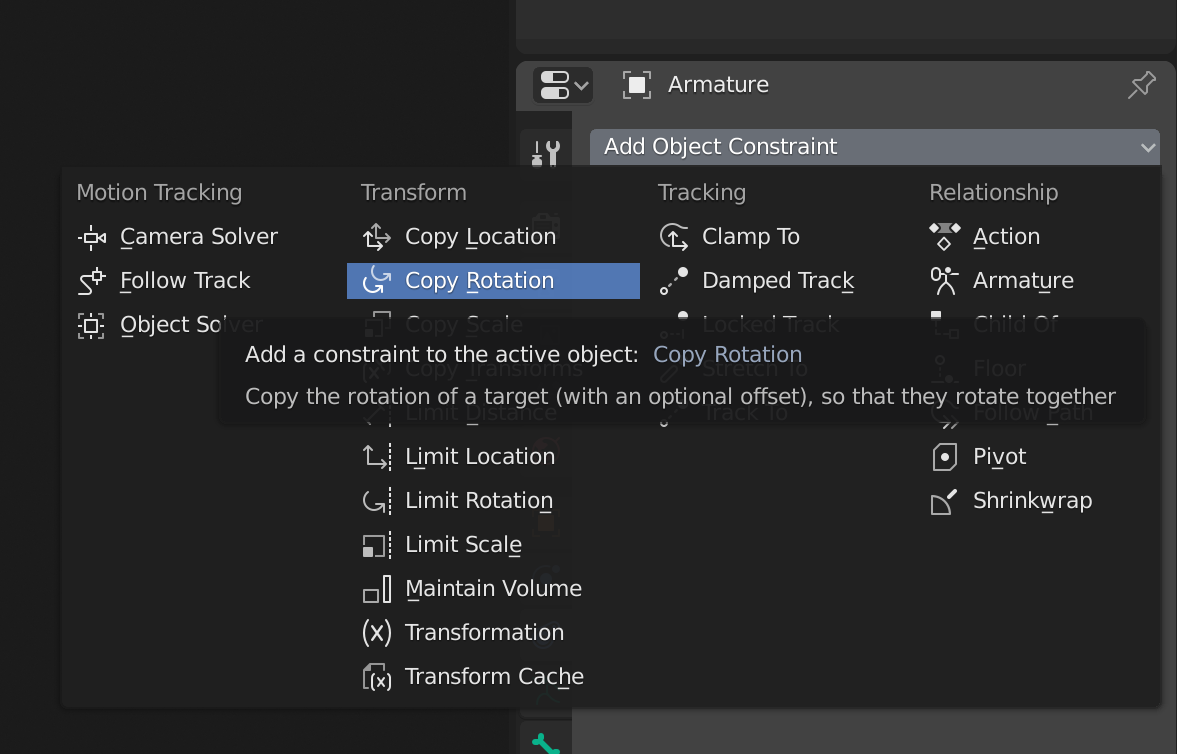
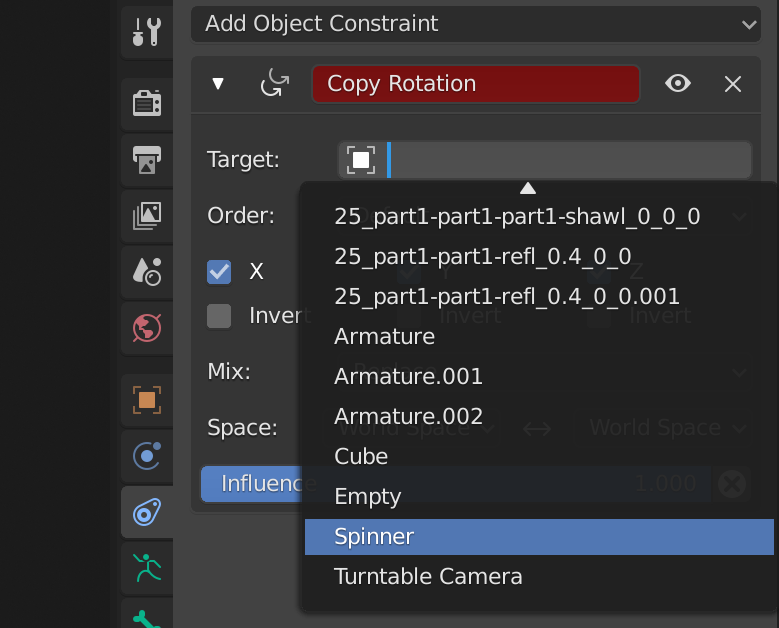
Then, go to the Object Constraint tab for the armature, (blue, elongated egg shape icon), click "Add Object Constraint", and select "Copy Rotation". For the target, click on the square with frames to see a list of your objects, and scroll all the way down until you see "Spinner" (or whatever name you've given to your spinning empty object.)
Now, your model spins! Press the play button on the timeline, or shift + space (or just space, depending on what Play is bound to for you) to see it in action.